
Not every recipe works: Rose-infused Cherry & Coconut Milk Ice Cream
Tweet
A while back, I found a picture on Foodgawker that pointed back to one of my favorite food blogs… Tartlette. Tartlette is a great inspiration for me, as the photos on this site are absolutely amazing… not to mention the recipes always sound wonderful. This particular photo pointed to a recipe that sounded irresistible to me — Cherry, rose and coconut ice cream… so I book marked the page in the hopes that I would eventually get around to making it. It sounded pretty easy and looked fabulous.
So, about a week ago I dug out the recipe and went to work. Here is the original recipe with my substitutions in italics.
Rose-infused Cherry & Coconut Milk Ice Cream
For the rose infused cherries:
1 c pitted and halved cherries
1/4 c water
1 tbsp lemon juice
1/2 c sugar (I omitted this)
6-8 food-grade, dried rose buds
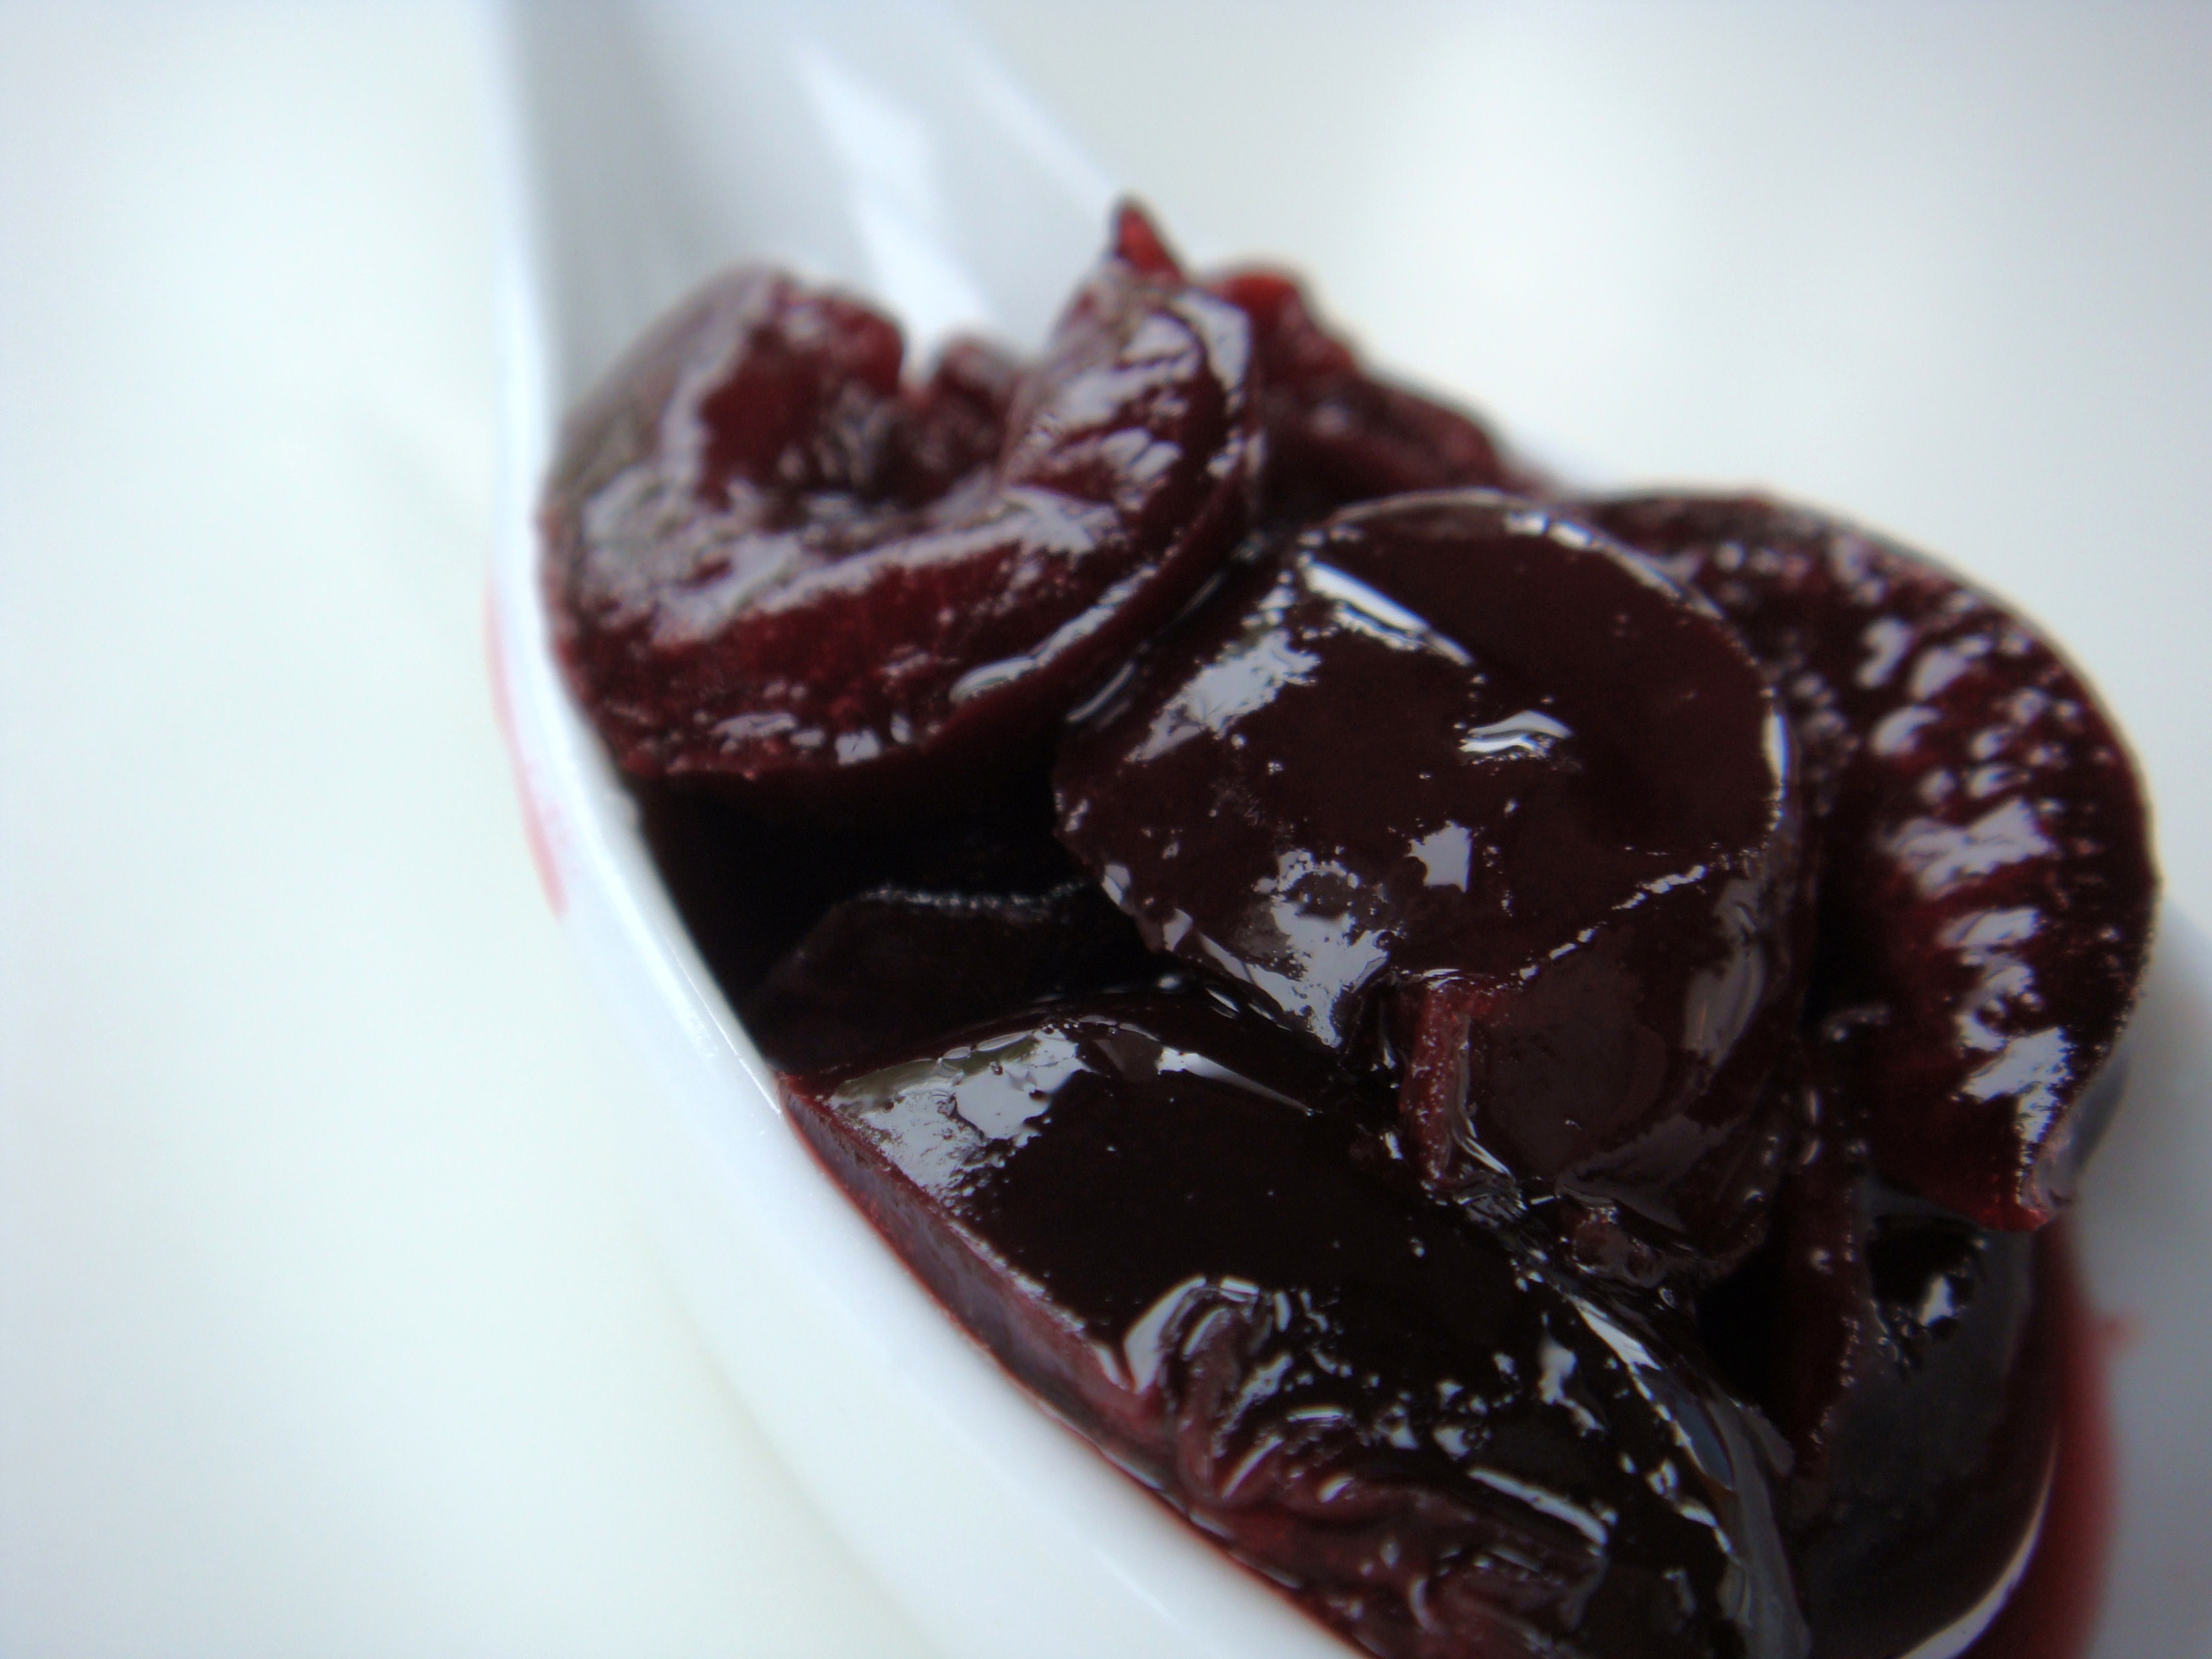
For this, I used frozen Bing cherries from Trader Joe’s, cut them in half and then substituted 1 tbsp of Rose Water for the dried roses.Place all the ingredients in a heavy saucepan and bring to a simmer over medium heat. Turn the heat off and let steep for one hour (longer for an even more intense rose flavor). Remove rose buds and refrigerate until ready to use (I drained most of the liquid off before storing in the refrigerator, since I was using rose water).


For the ice cream:
1 c heavy cream (I used 1/2 c fat free half and half)
1 c whole milk (I used 1 1/2 c skim milk)
1 c whole coconut milk (I used light coconut milk)
1 c granulated sugarIn a large saucepan set over medium-low heat, bring the cream, milk, coconut milk and sugar to a simmer, stirring occasionally until the sugar is dissolved. Remove from the heat and let it cool to room temperature. Refrigerate, preferably overnight.
Process the mixture into your ice cream maker according to the manufacturer’s instructions. Once the ice cream has reached soft serve consistency, pour into a freezable container. With a spatula, swirl in the cherries and a few tablespoons of their liquid. Freeze a couple of hours.
No ice cream maker? No problem! Pour the cream into a freeze proof container and freeze for a couple of hours. Take it out and whip it with an electric mixer or immersion blender, freeze it again, whip it again….do that four or five times. The mixture won’t be quite the same but pretty darn close.
So here is where things started going down hill for me. I hadn’t used my ice cream maker in a LONG time and forgot that you are supposed to turn the paddle on BEFORE you pour the ice cream mixture into the bowl. I, on the other hand, poured the mixture in first and then put the paddle in. Needless to say, the mixture immediately started freezing to the sides of the bowl… preventing the paddle from being able to move.
We had to pour the mixture out of the bowl, scrape the sides of the bowl down and then get the paddle moving. By then, it had been SEVERAL minutes (more like 10 or 15) that the ice cream maker bowl had been out of the freezer…which is a big no-no.
I let the maker run for the suggested amount of time and it DID start to set up… but as time went on, it just wasn’t getting more frozen — because by now, the bowl wasn’t cold enough. SO… I had to take it out of the bowl and transfer it to a freezer-safe container. It was pretty soft still and had LOTS of ice crystals in it. At this point, I knew I had failed but wanted to give it a try anyway.
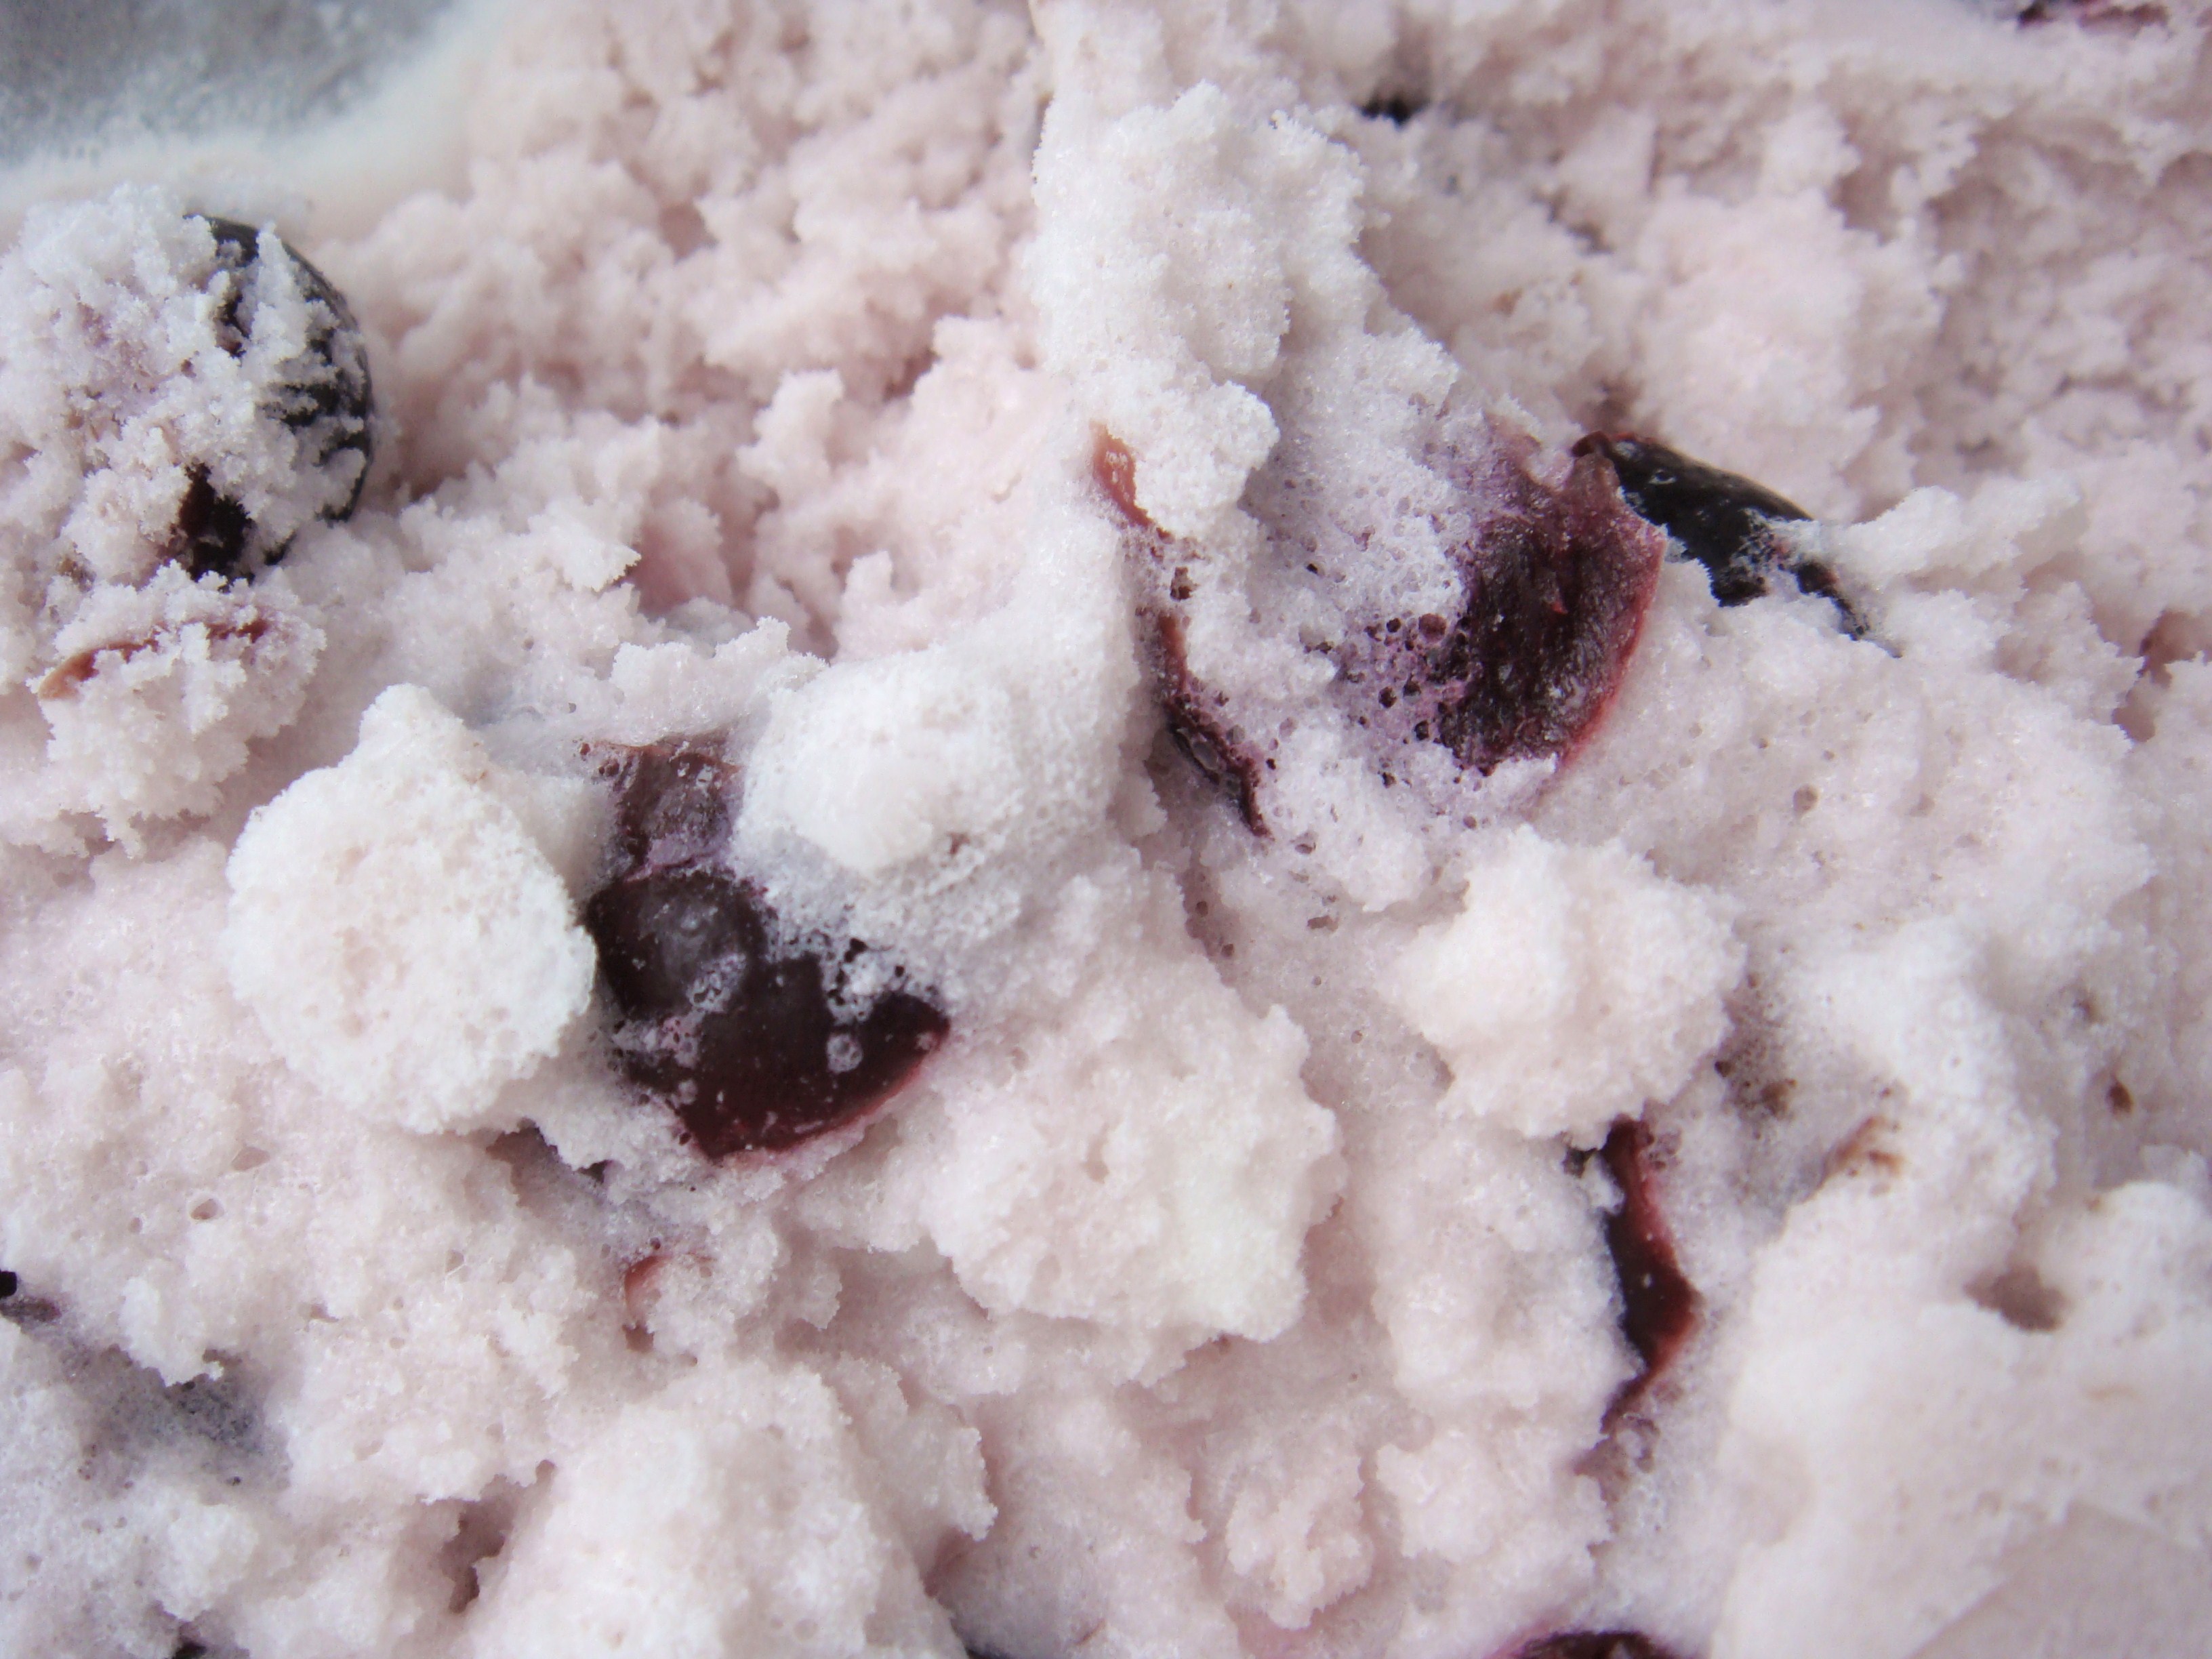
The end result was this:

Yes, it looks yummy, but is HARD AS A ROCK. It tasted pretty good, a little soapy because I actually added 2 tbsp of rose water (unlike the 1 tbsp I suggest above), but not bad. I’m sure the lower fat content affected the texture as well … but I still think it would have been good with less rose water and by using the ice cream maker properly!

 (No Ratings Yet)