
The Infamous 2-ingredient Banana-Egg Paleo Pancakes
Tweet
You’ve seen them in your Facebook or Twitter feeds. All the gluten-free and paleo bloggers have talked about them. You’ll find them in many grain free cookbooks. What are they? The infamous “2 ingredient” paleo pancakes made with “just bananas and eggs.” I’ve been wanting to try these for ages… so when we got the call that school is closed today due to snow, I figured it was the perfect time.
You can find this recipe everywhere… all it is mashed bananas and eggs. Yep, that’s it. However, I’ve been thinking about this recipe for a long time (I wasn’t allowed to make them on the Whole30 program), so I’ve seen lots of recipes and tips on how to make these successful. I’ve read they can be tricky and work best (and taste better) with a few other ‘hidden’ ingredients (like baking powder, vanilla and cinnamon).
I decided to use the recipe on the Top With Cinnamon blog for a few reasons… but mostly because I liked her photos 🙂 and wanted to show her a little love. That and the fact that she had some good tips… though her cooking times were off and I followed the cooking times from the Rabbit Food for my Bunny Teeth instead.
Banana Egg Paleo Pancakes — Grain free, dairy free and sugar free!
2 very ripe bananas
4 pasture-raised eggs
1/4 tsp baking powder
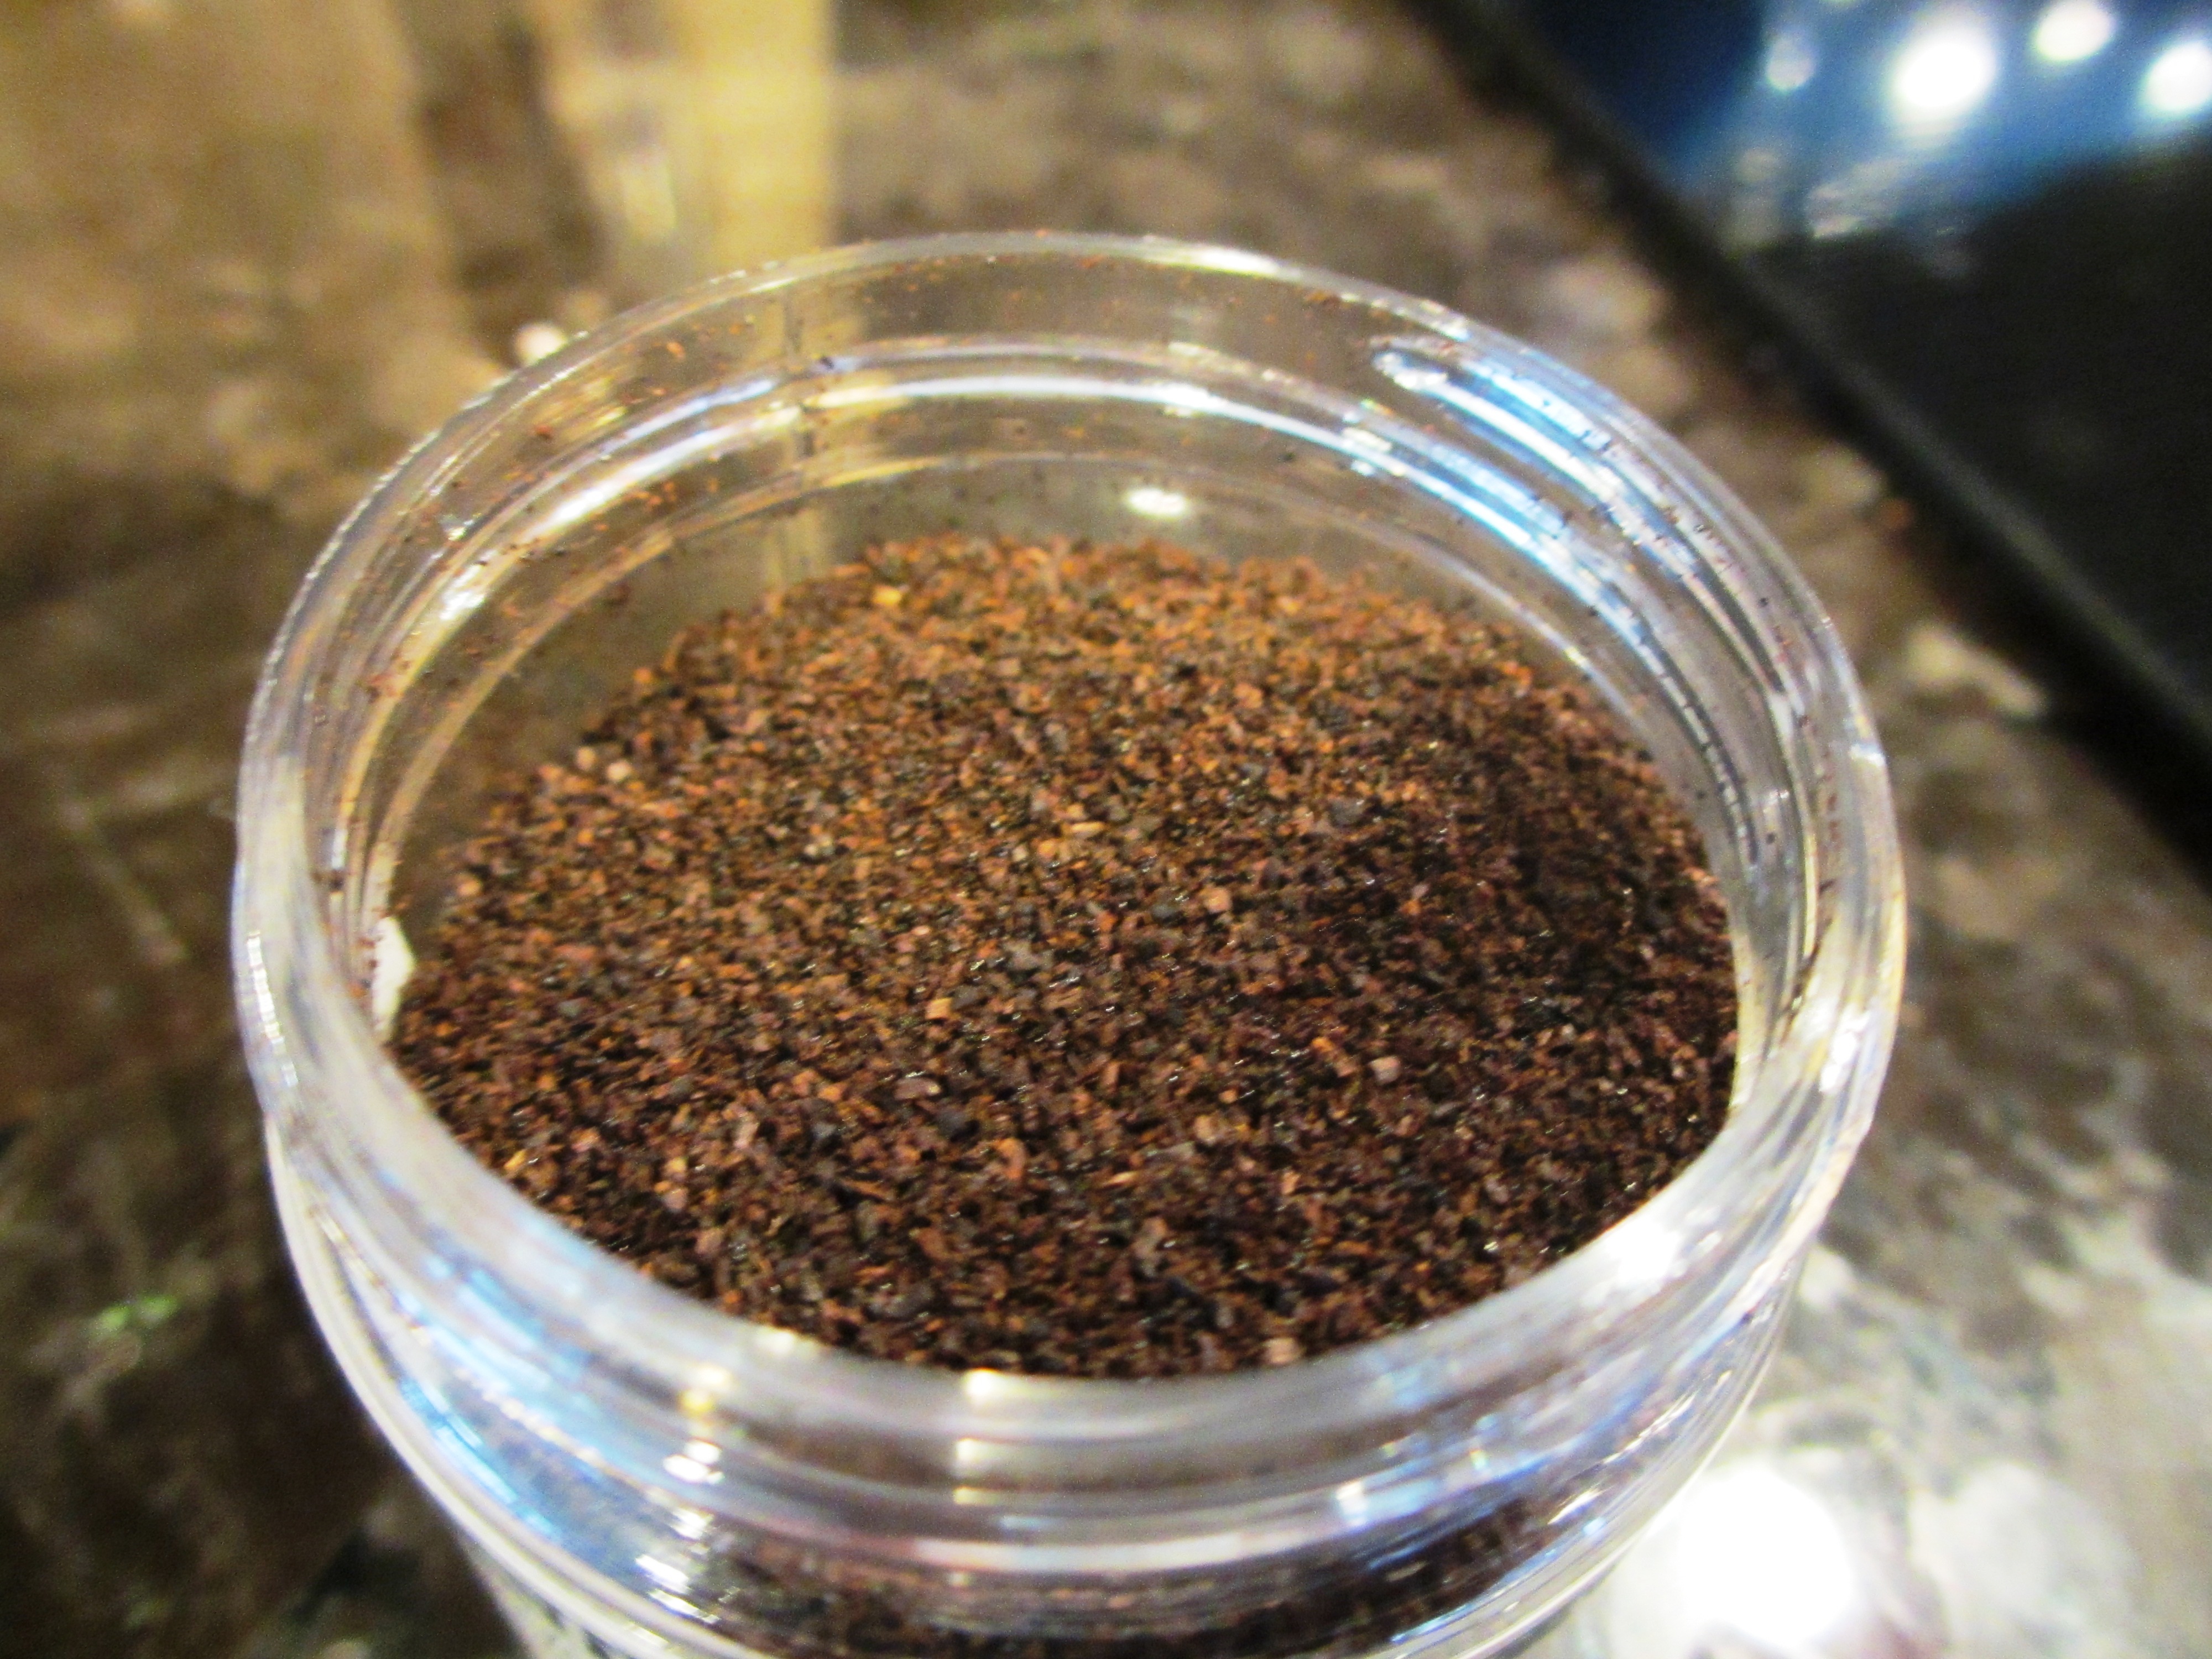
Ground vanilla bean (or vanilla extract) to taste
Cinnamon to tasteFollow the directions in the photo captions below…

In a small bowl, mash the bananas with a fork…
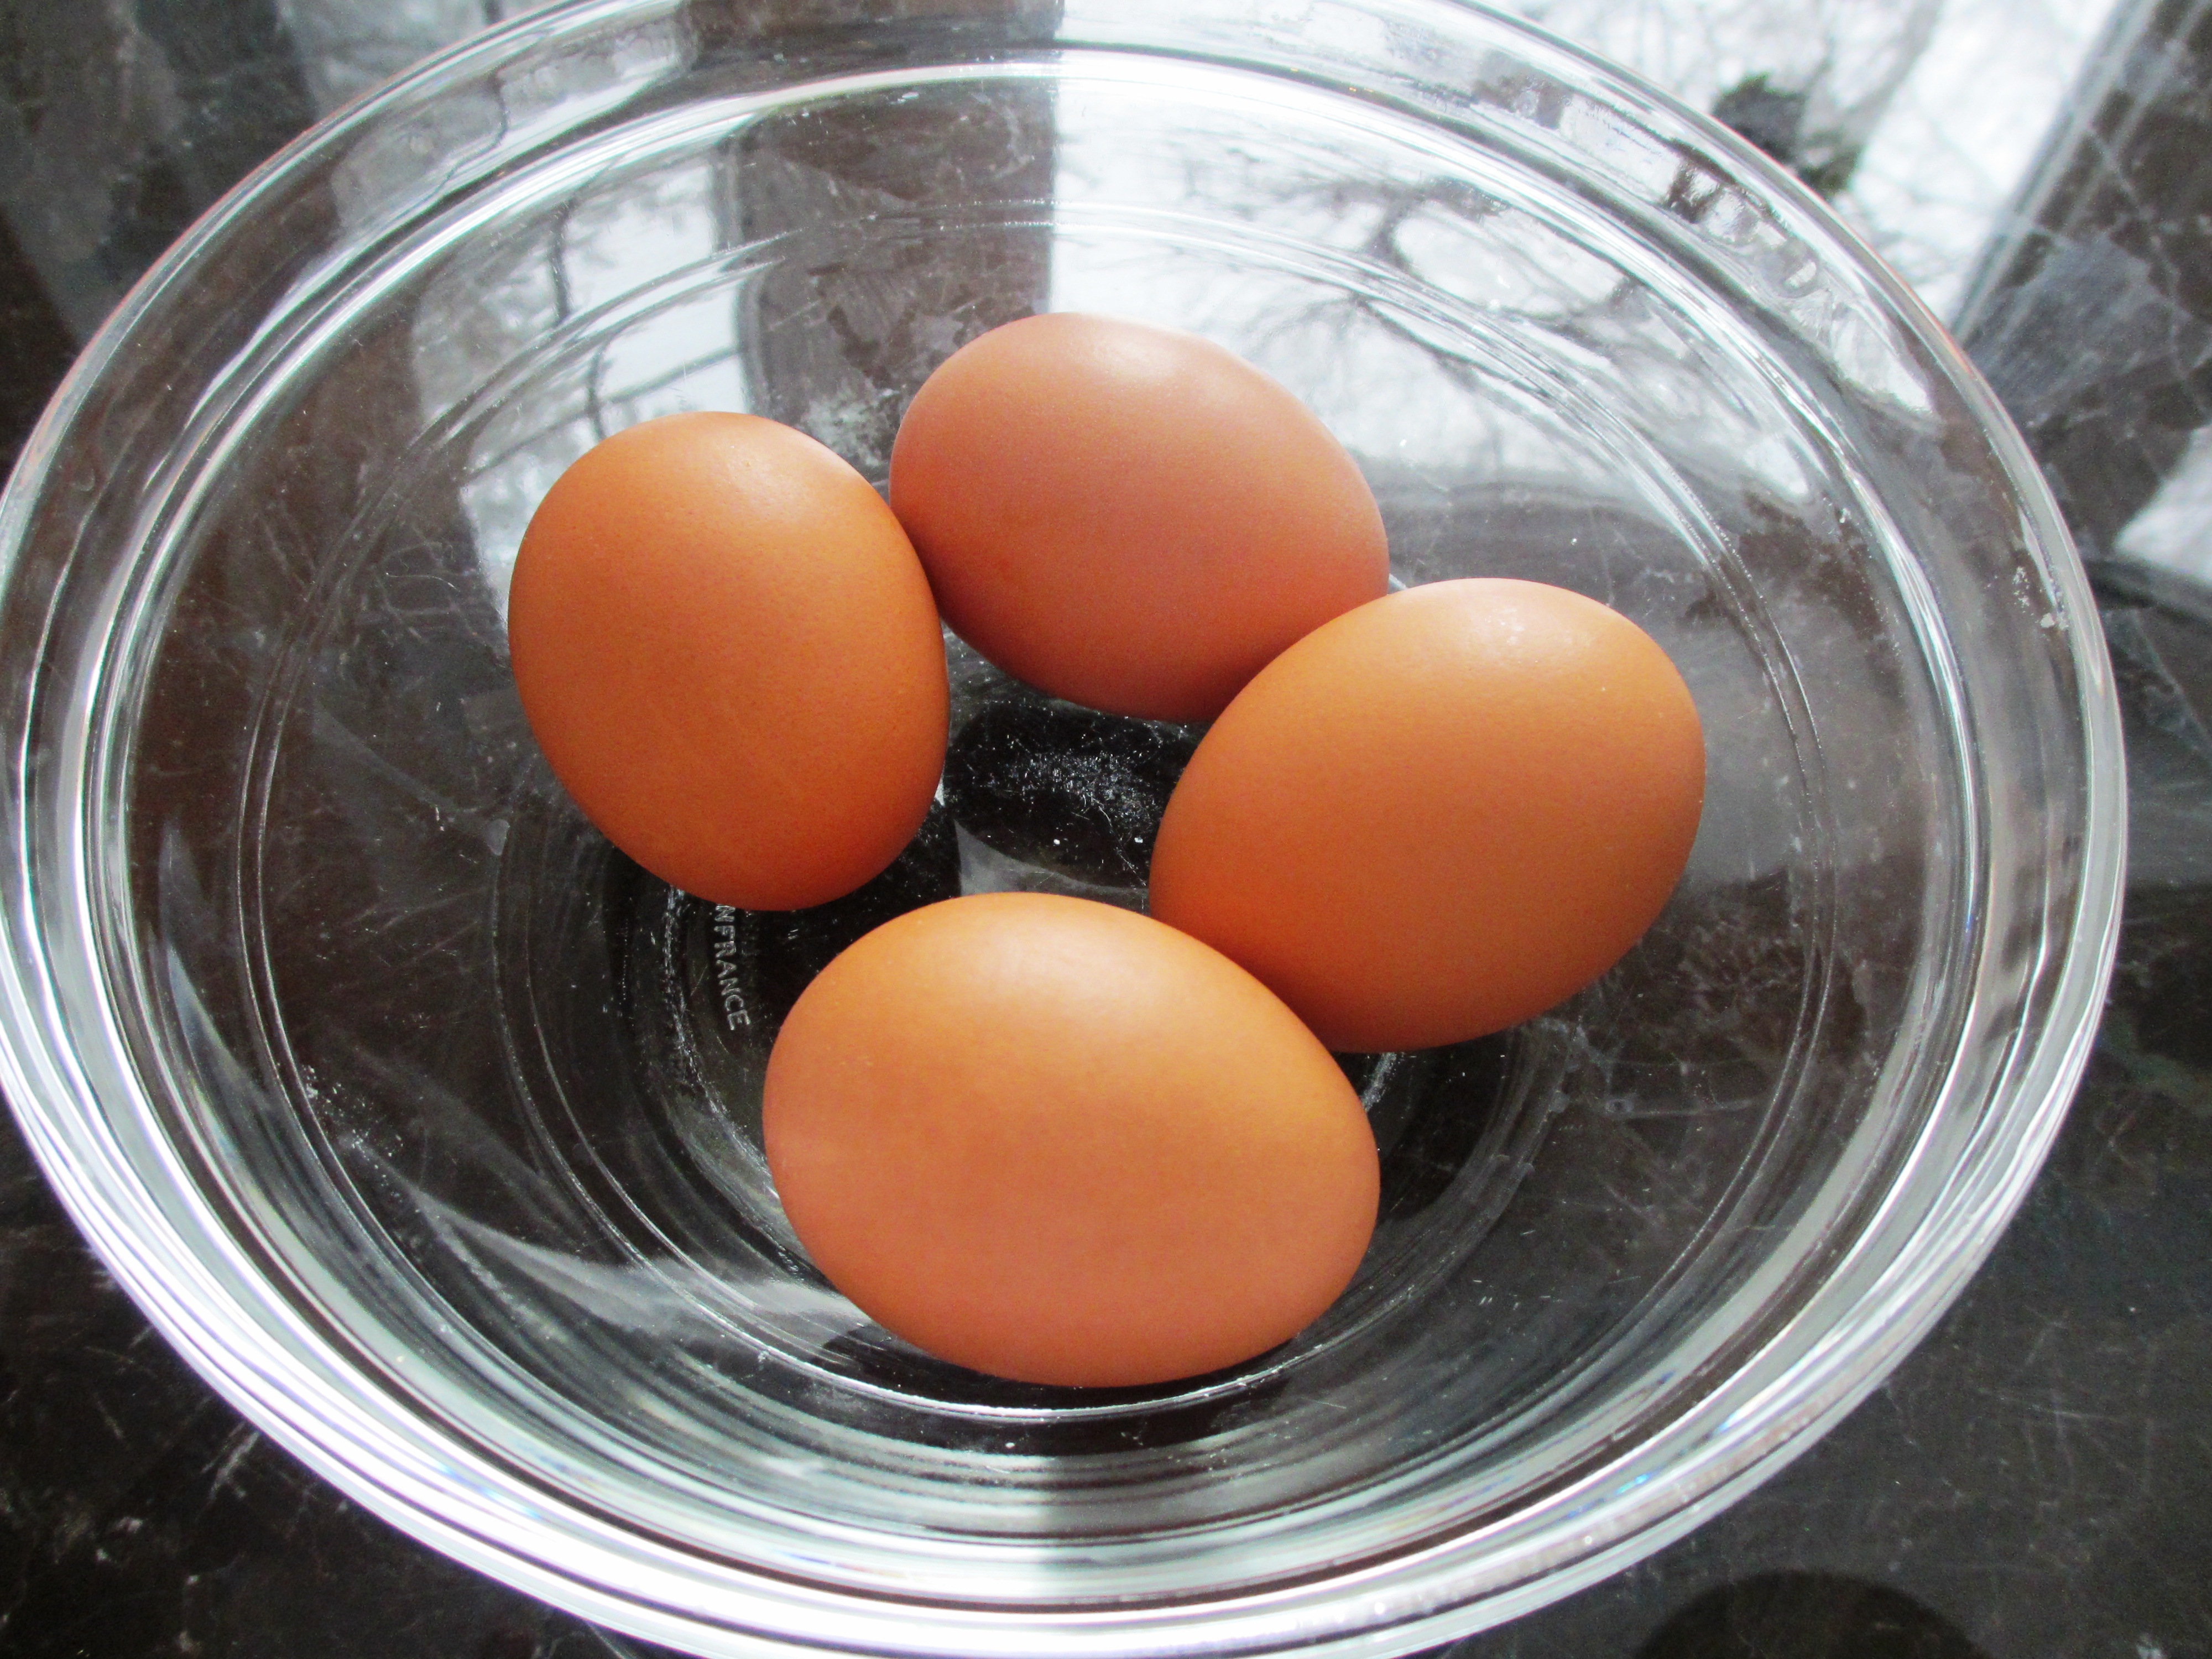
In a separate bowl, whisk the four eggs…
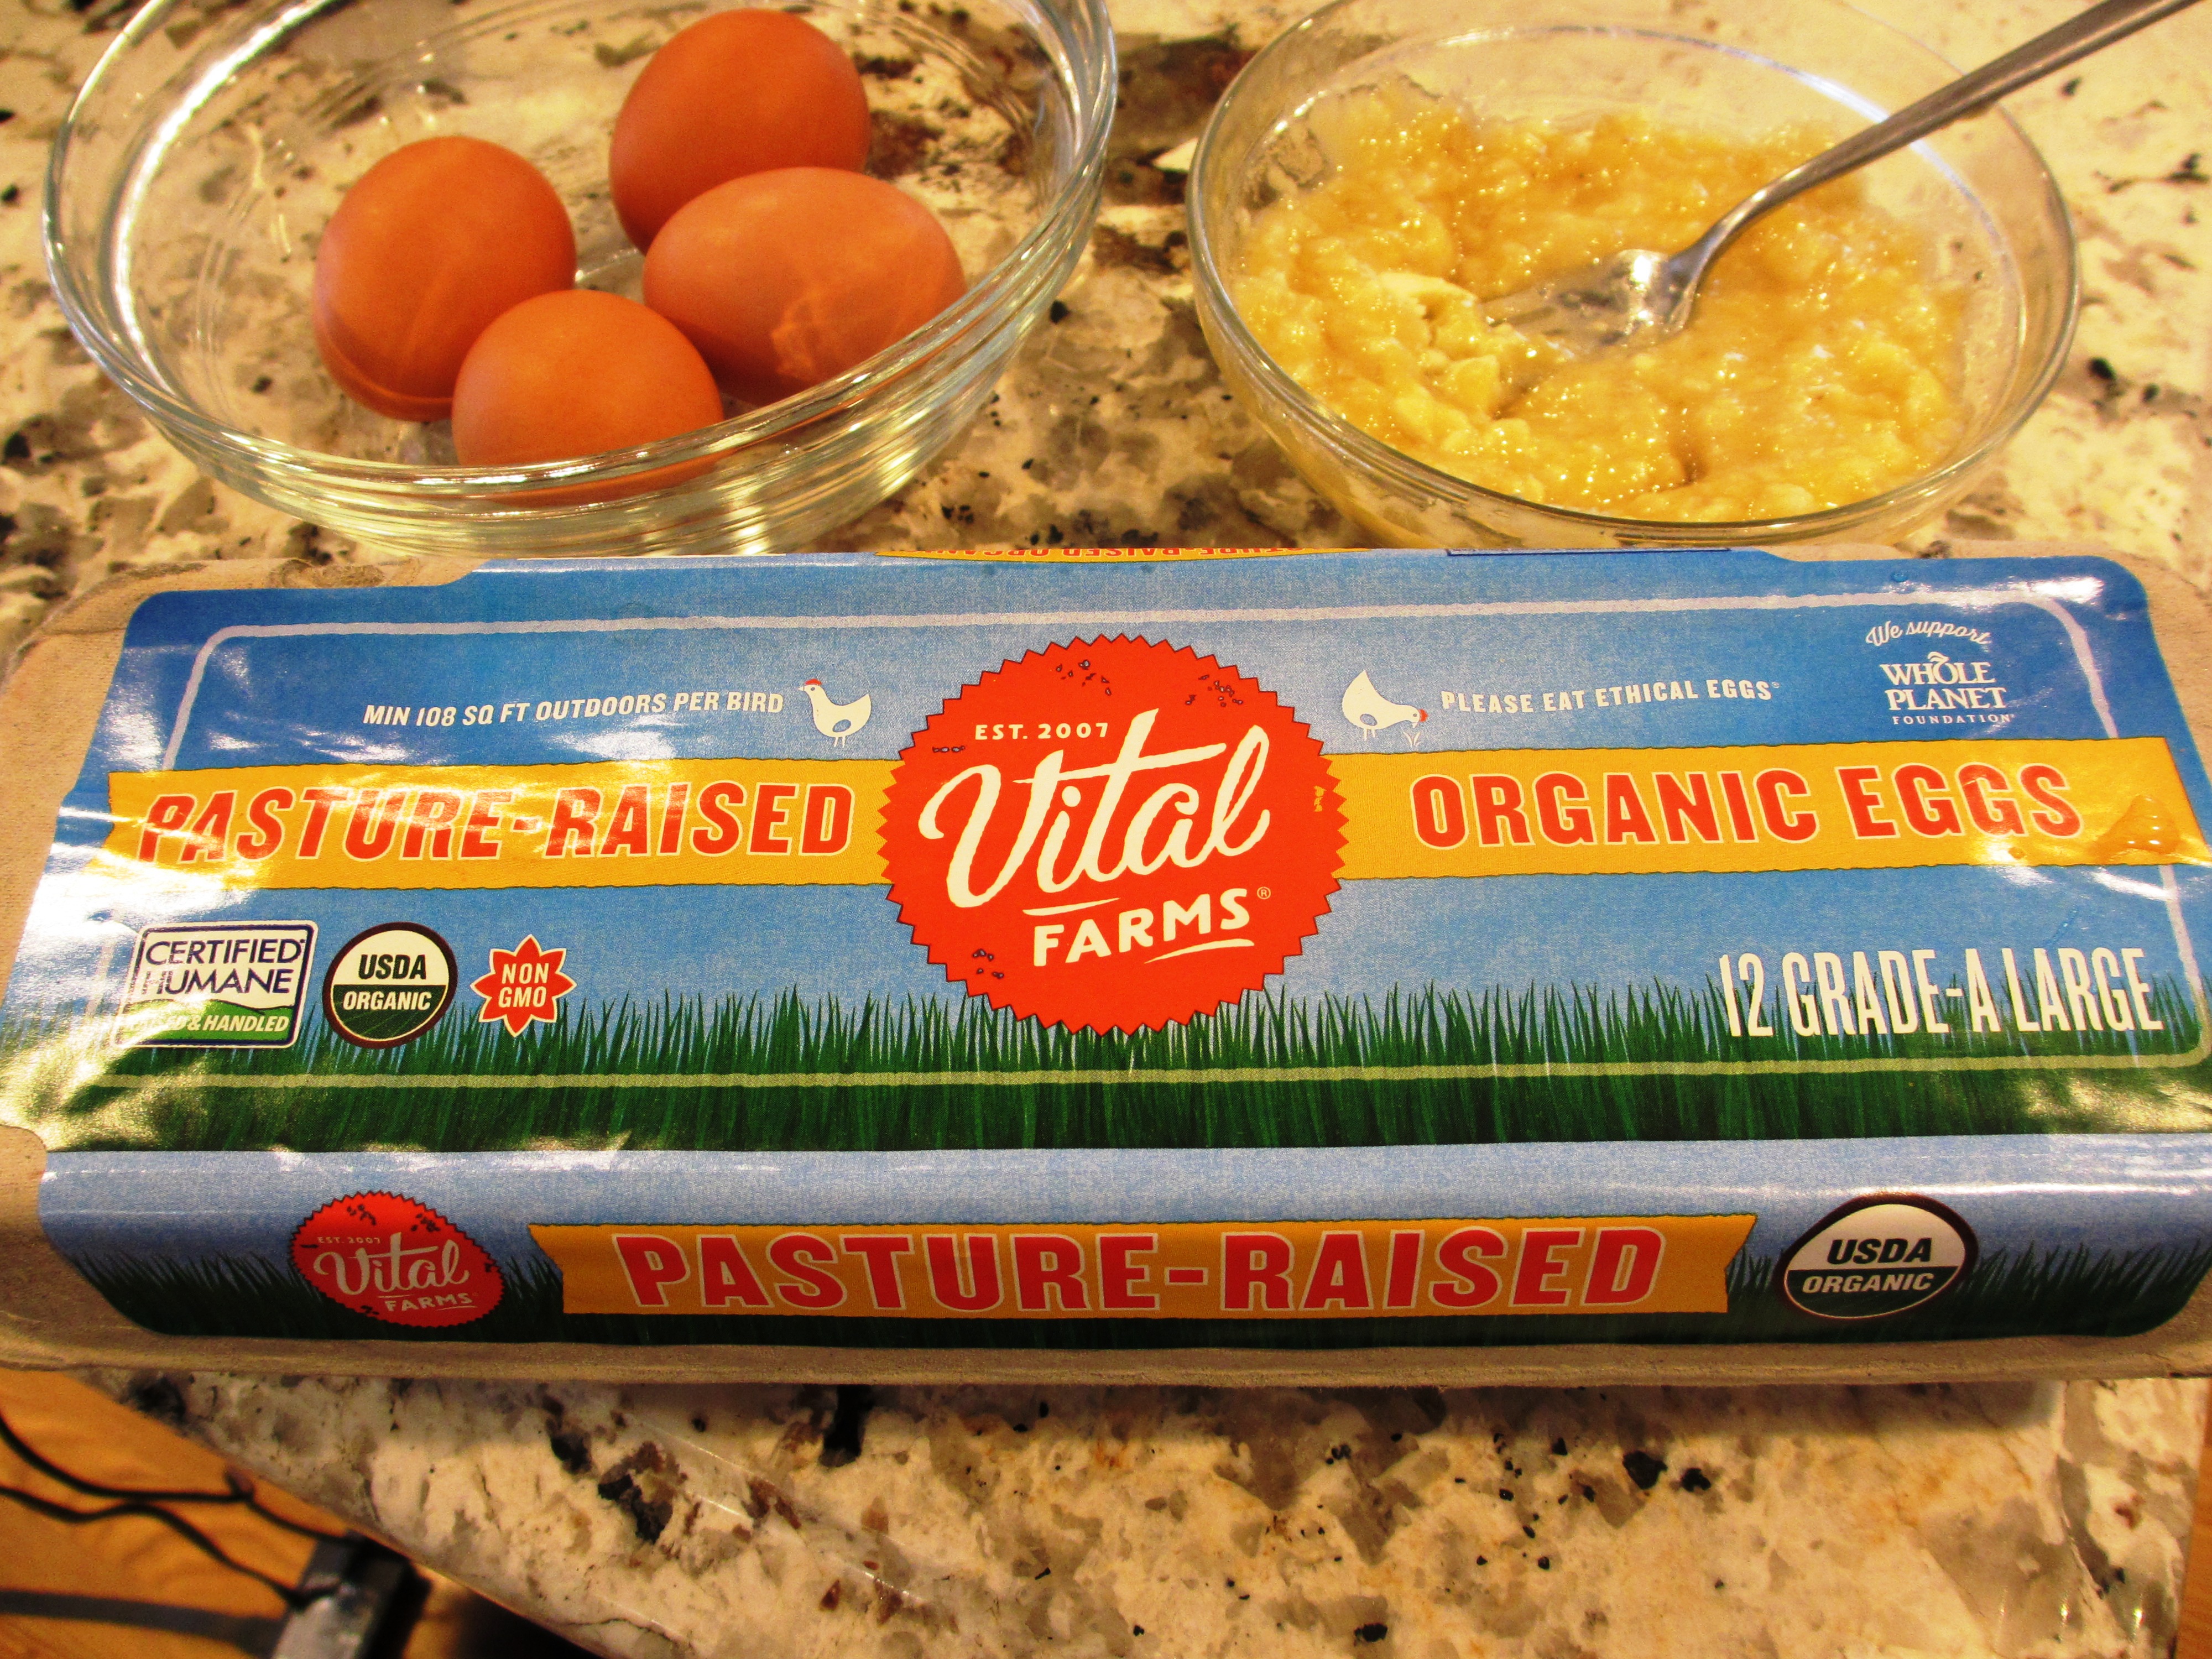
These are the only eggs I buy now. They are organic, raised humanely and pasture raised…
Mix the eggs and the banana together in one of the bowls. I added about 1/8 tsp of cinnamon and about 1/8 tsp of this ground vanilla bean.
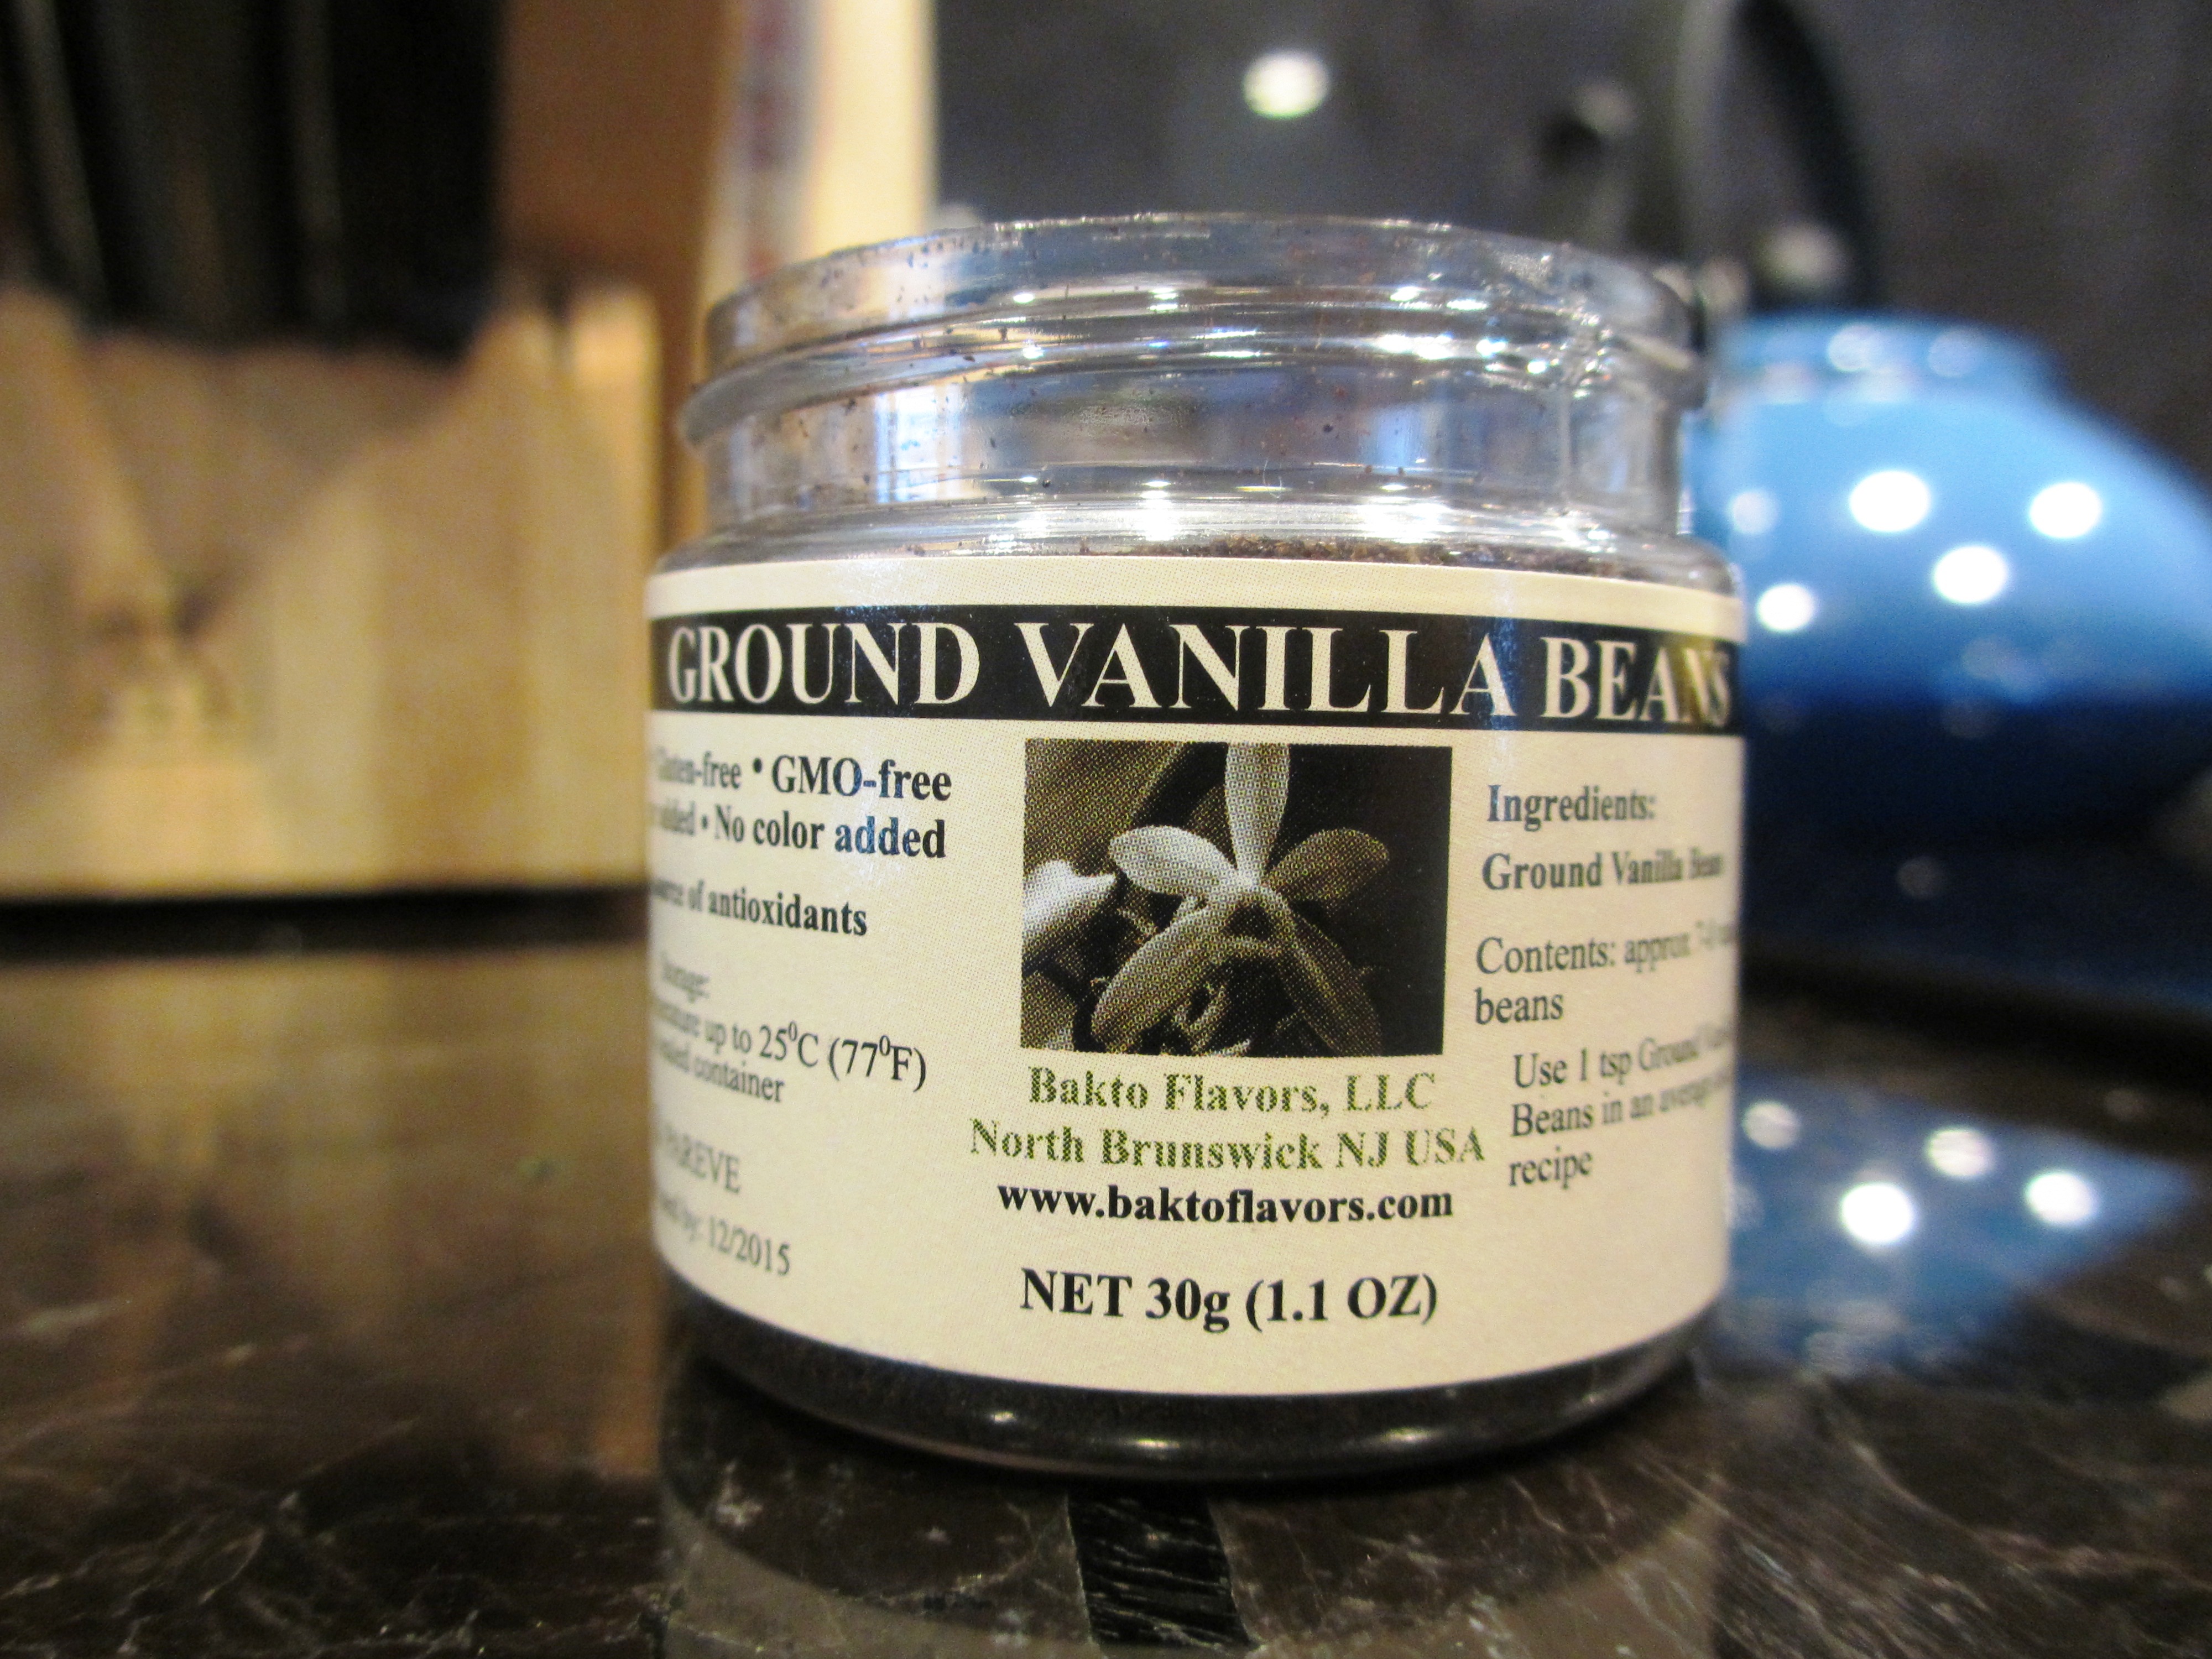
I love that this vanilla is from New Brunswick NJ (close to where I grew up) and GMO free!
Doesn’t look delicious??? It smells DIVINE…

Once everything is in one bowl, mix well…
At this point, if you prefer a smoother batter, you could use a hand-blender to mix this even more. Next time I will try that….
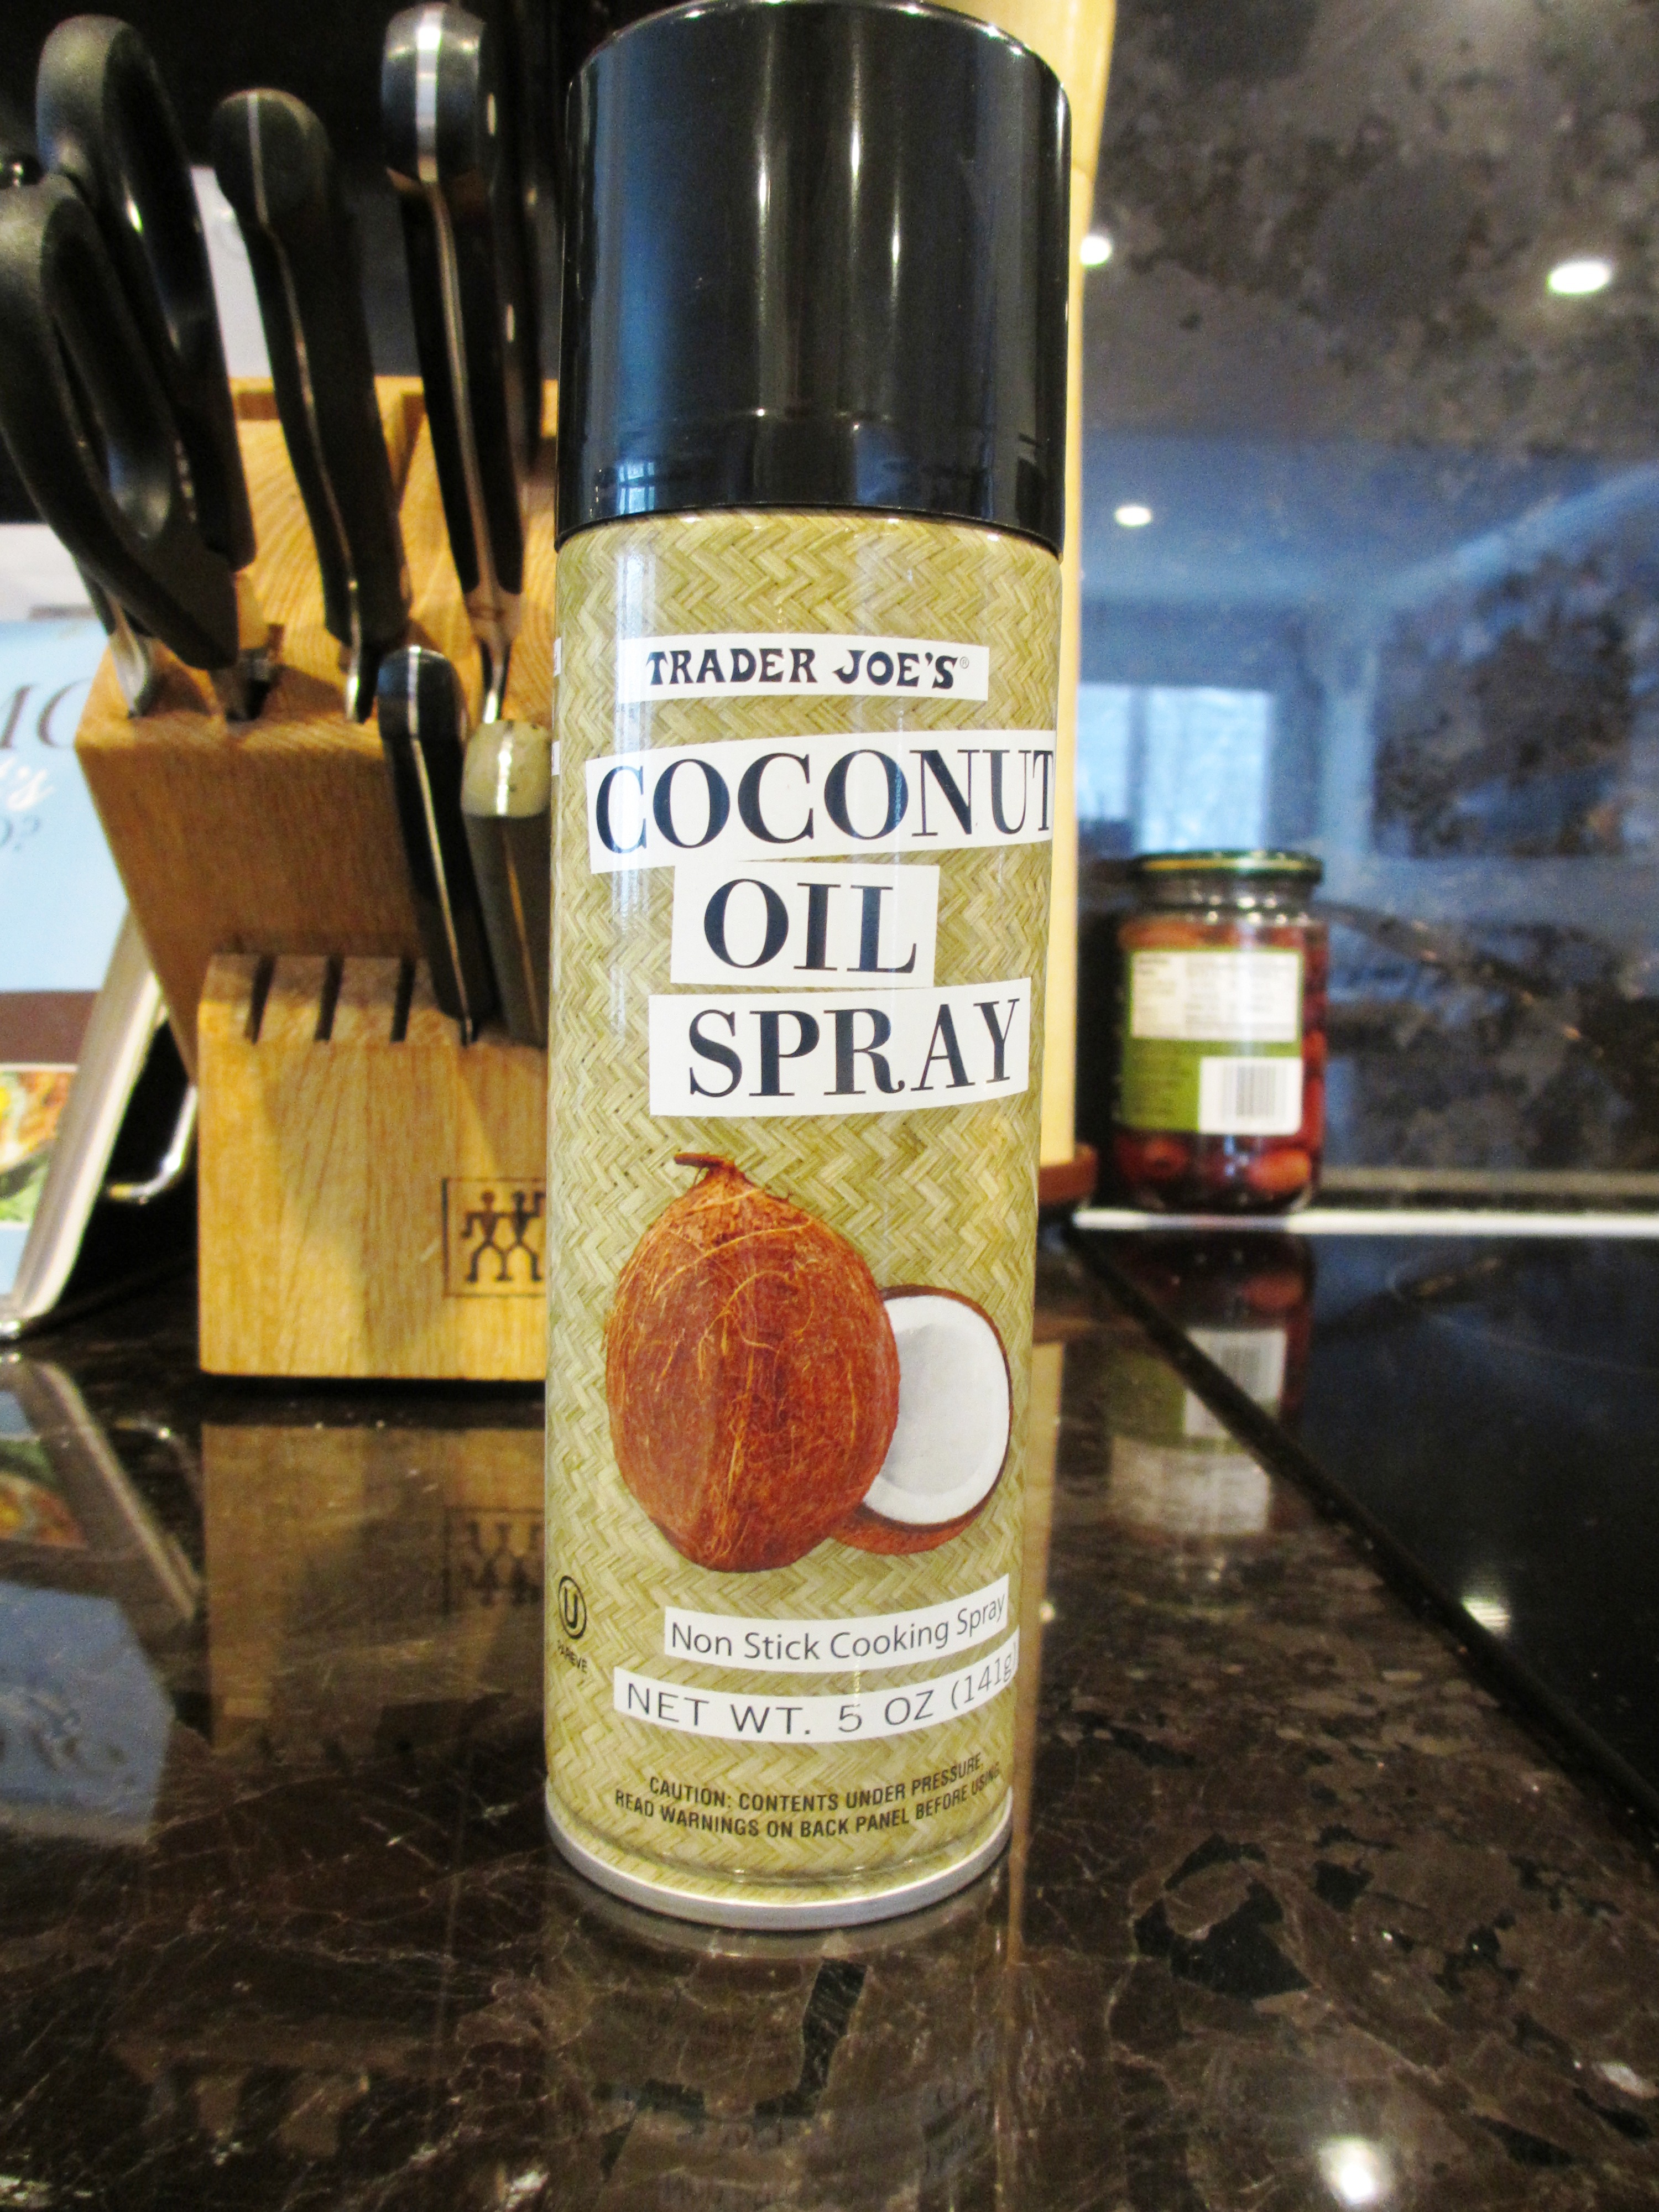
Use a non-stick skillet and coat it with cooking spray. I prefer Trader Joe’s Coconut Oil Spray…
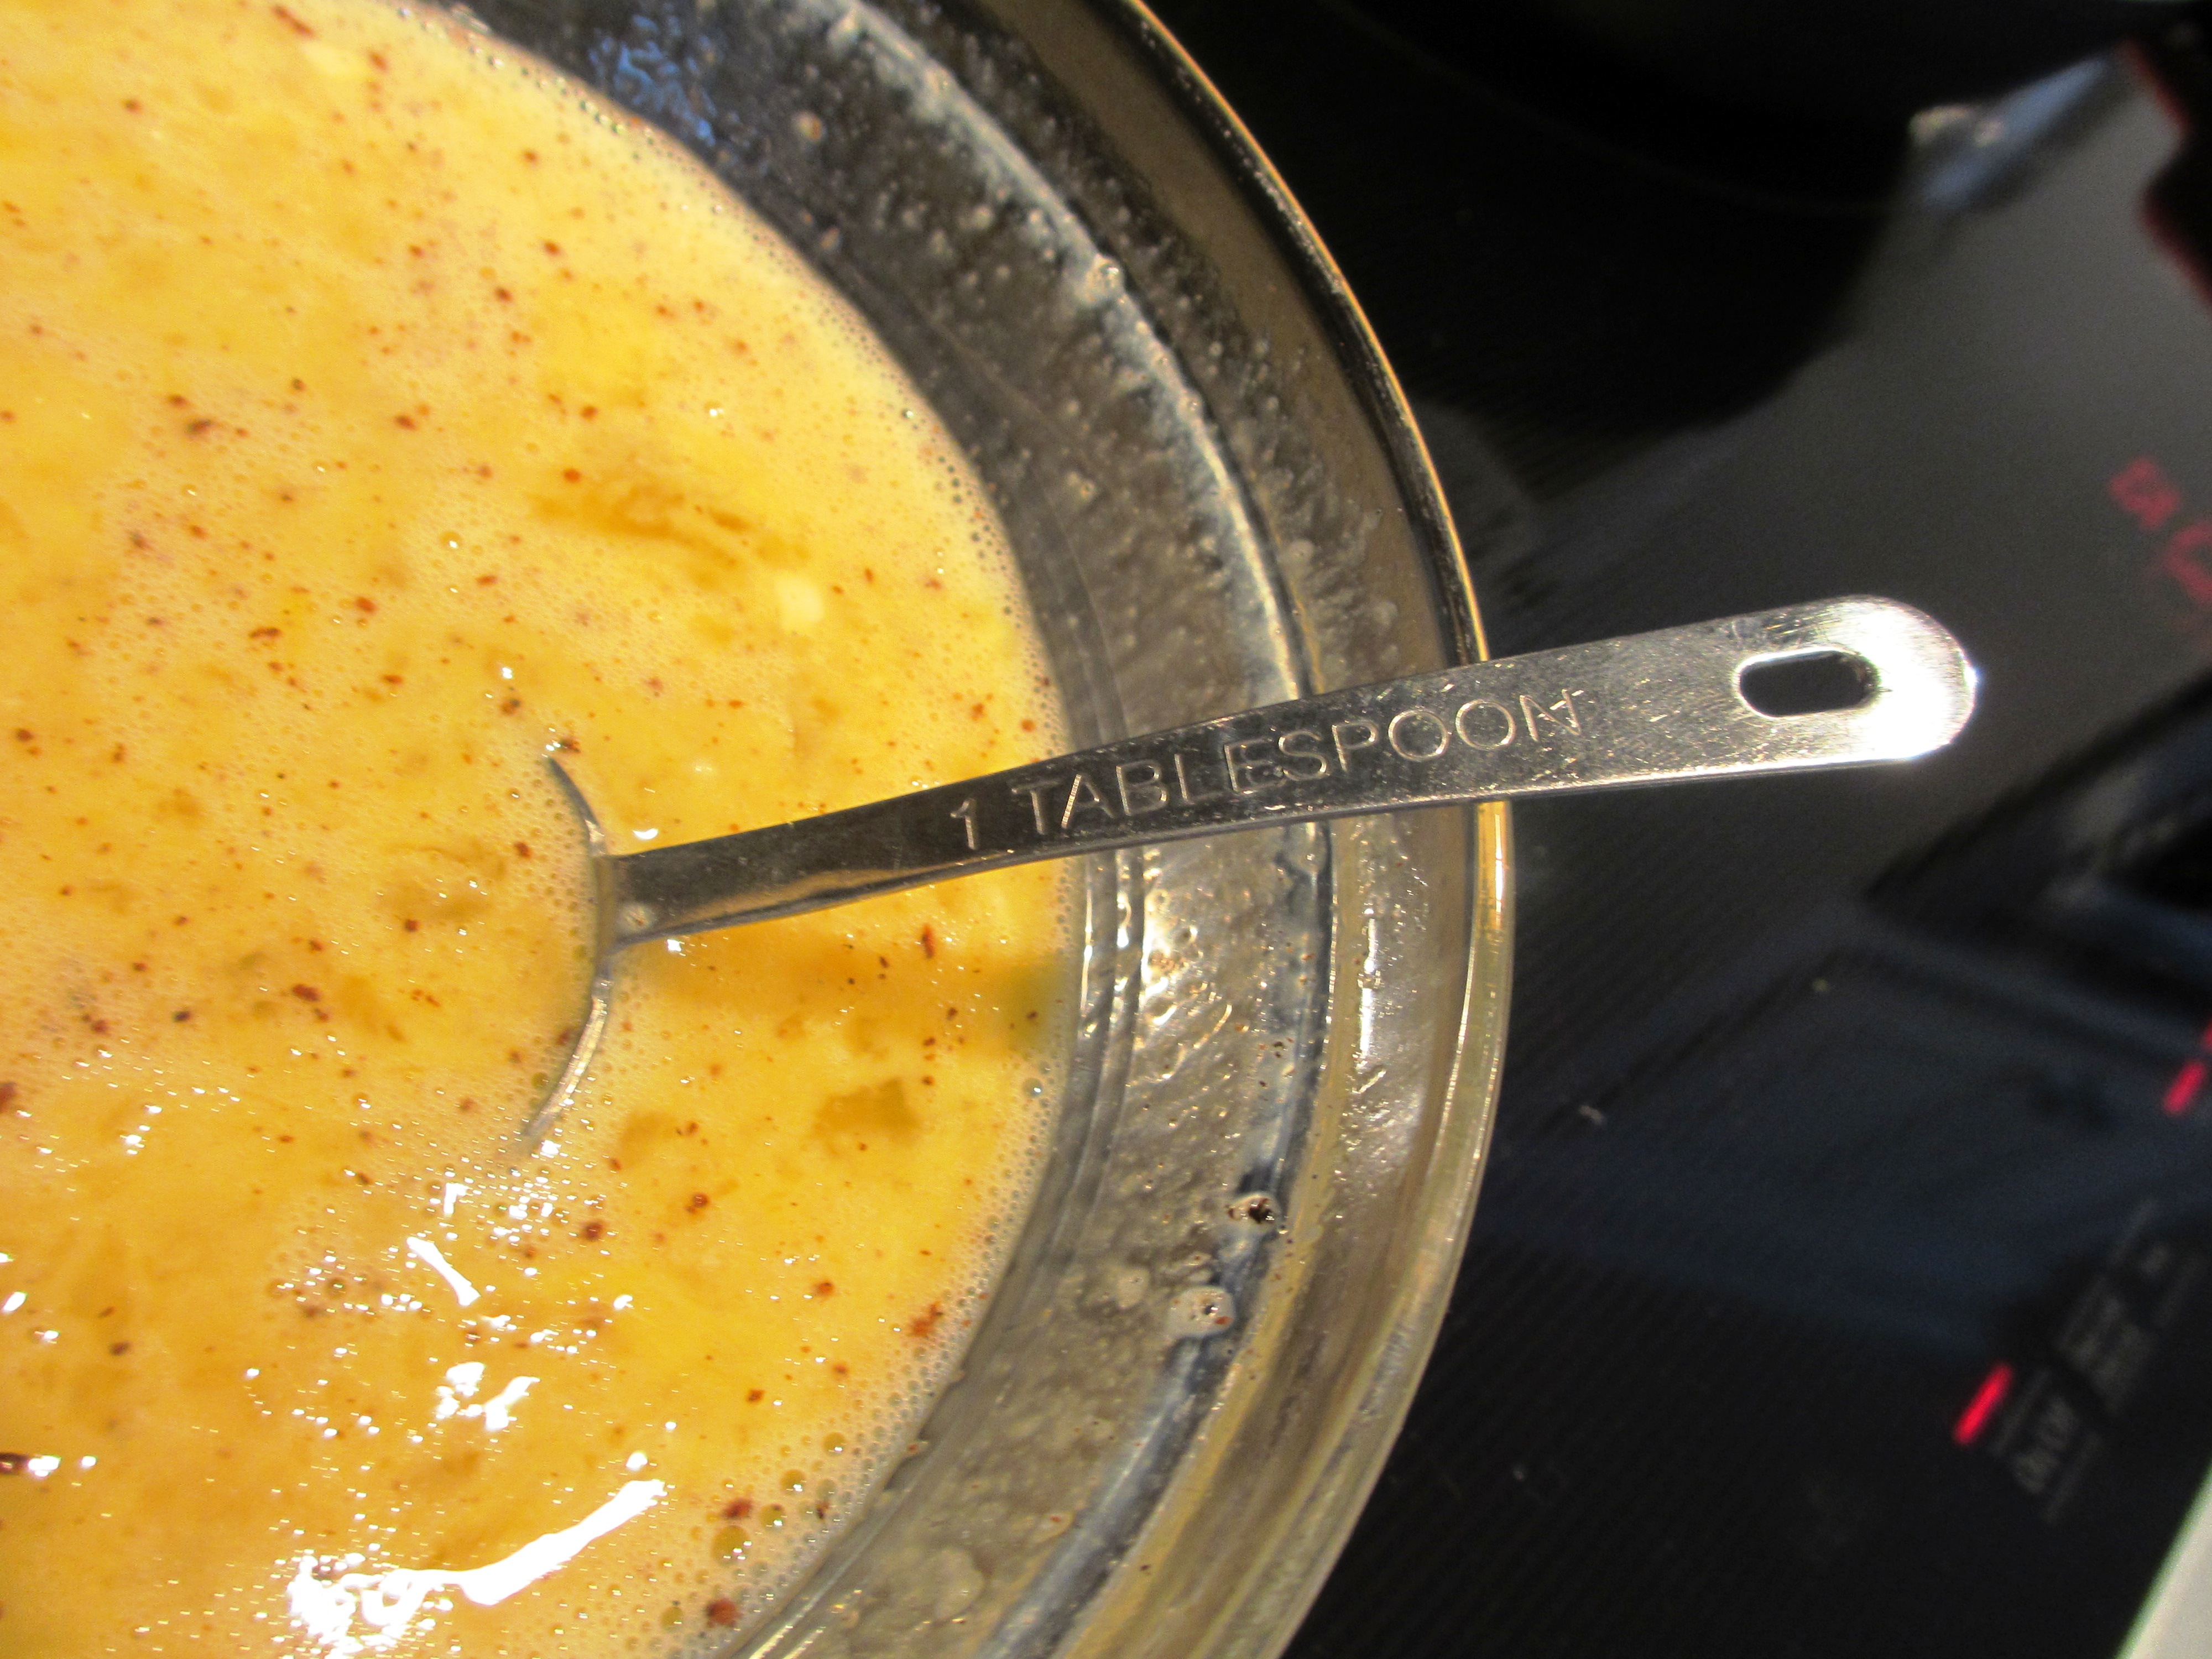
Use a tablespoon to measure out each portion of pancake batter…
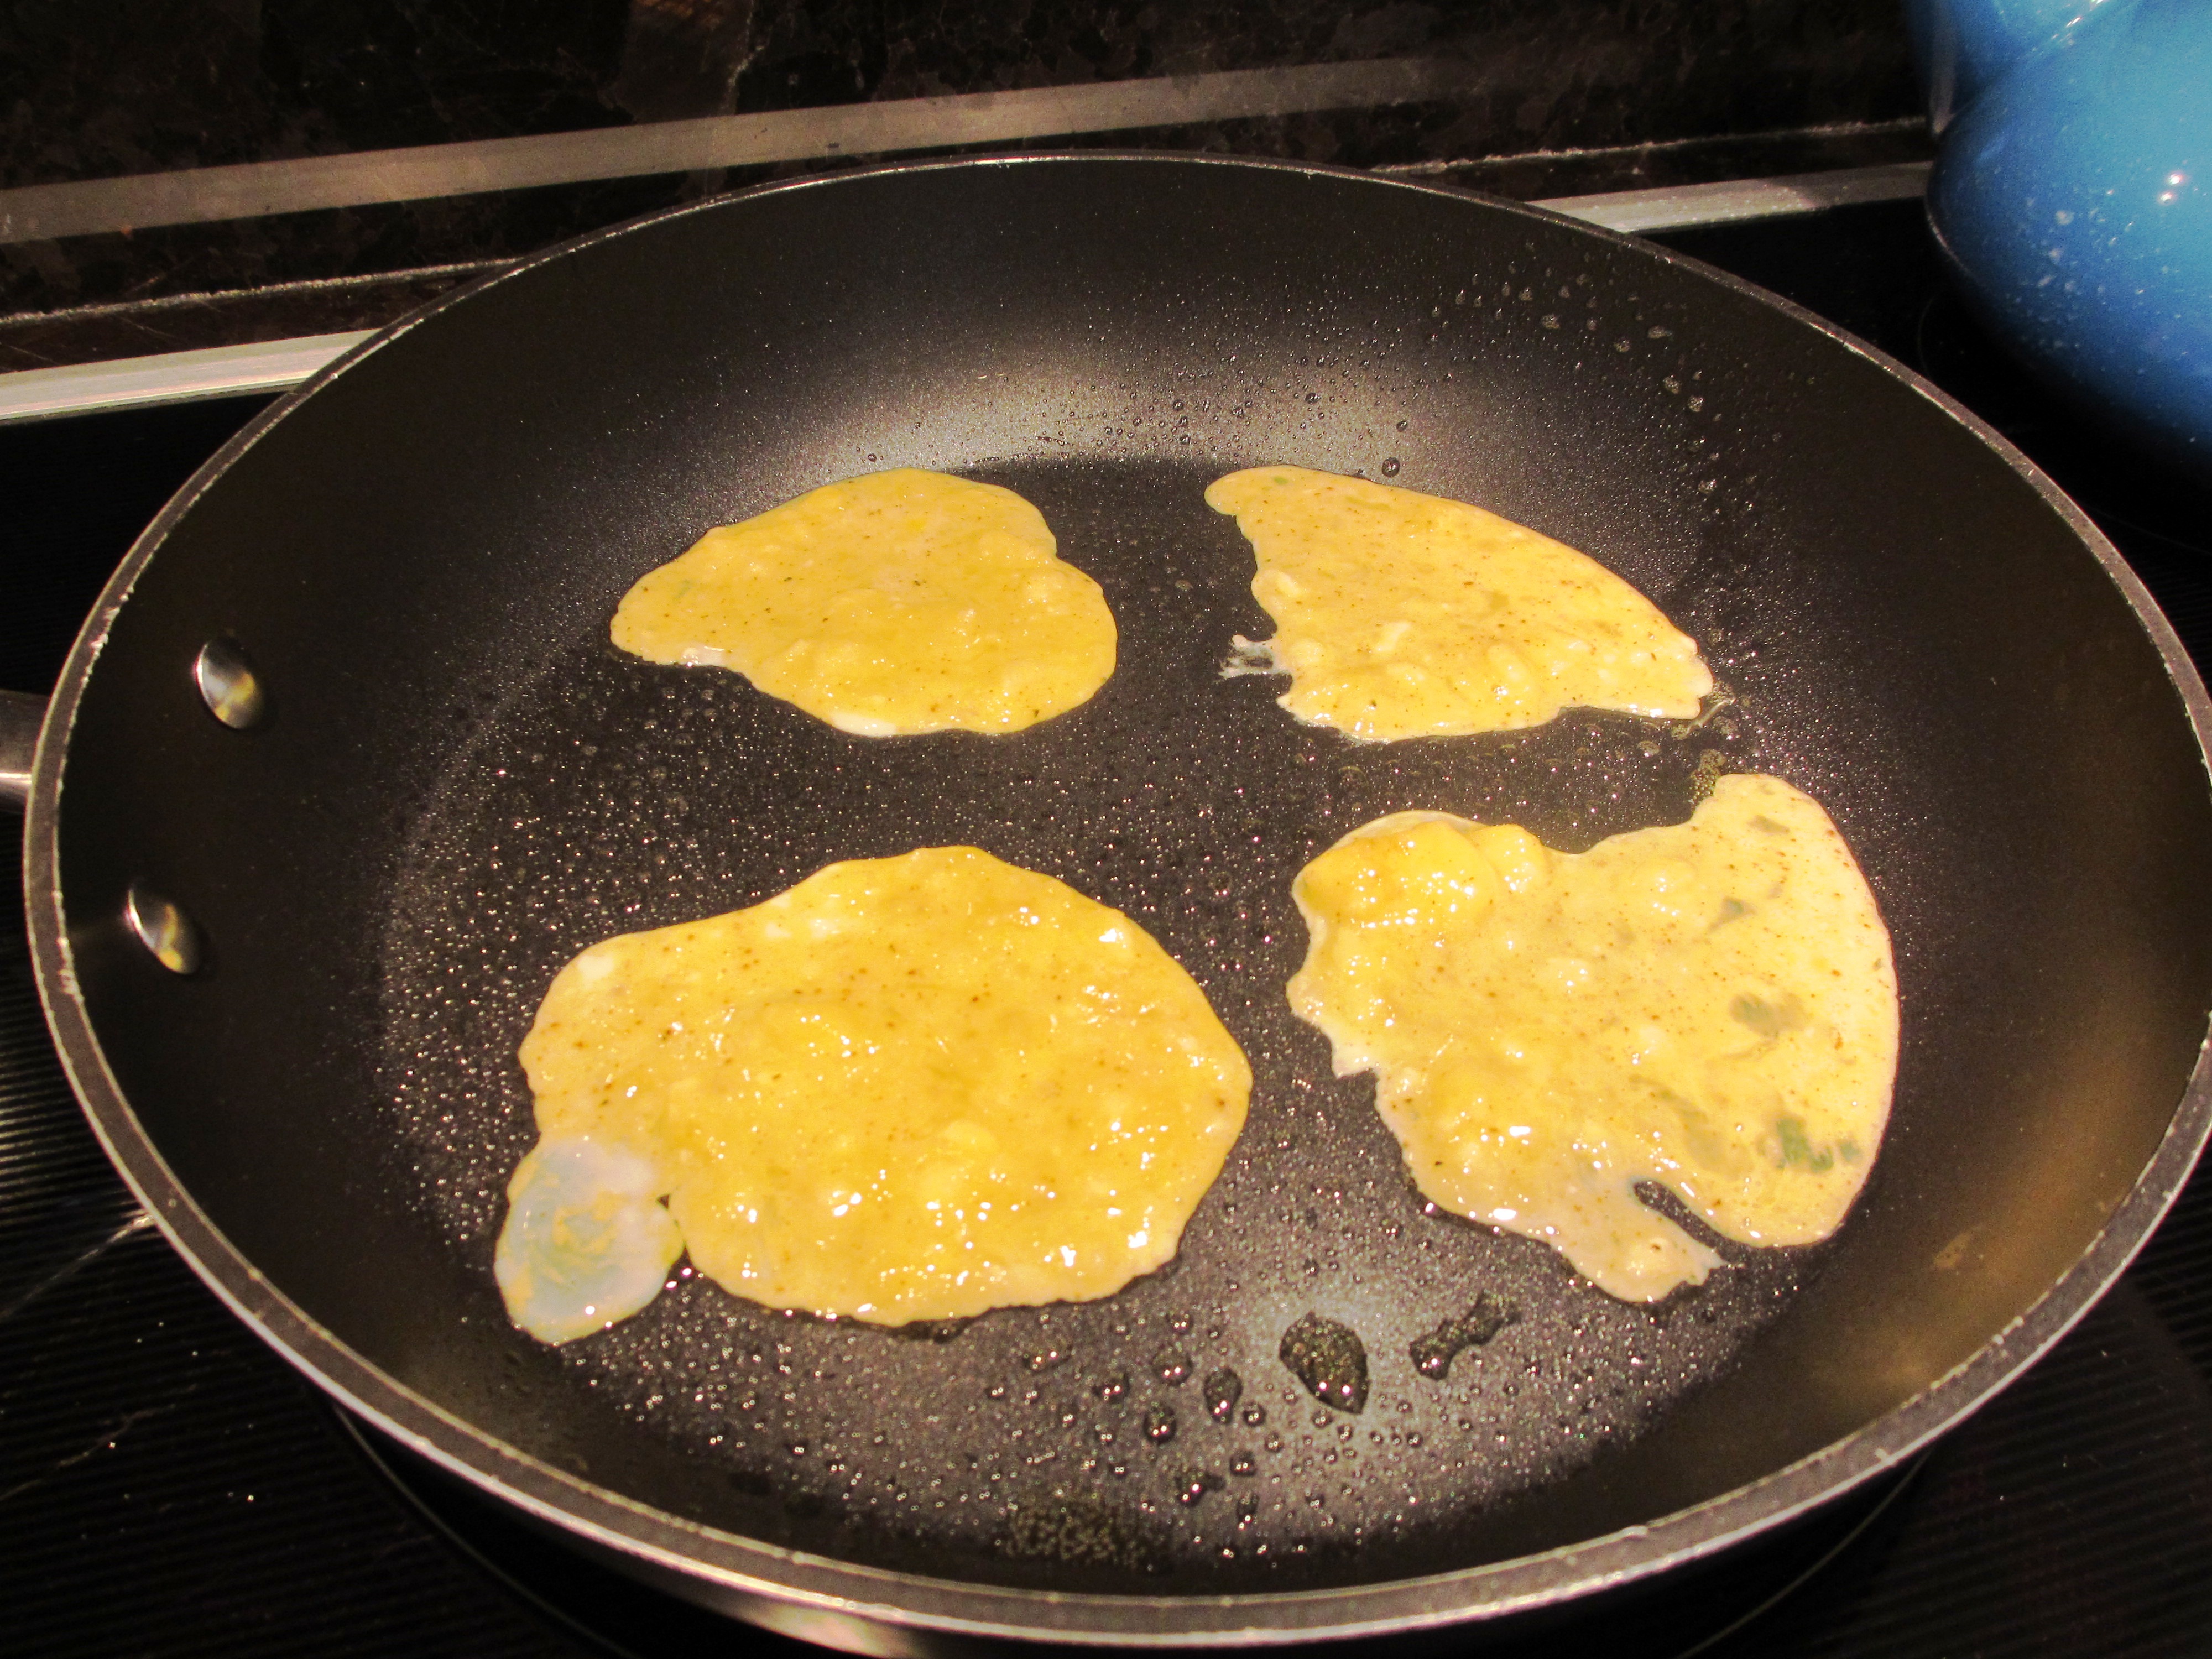
First batch… this was definitely a trial and error process…
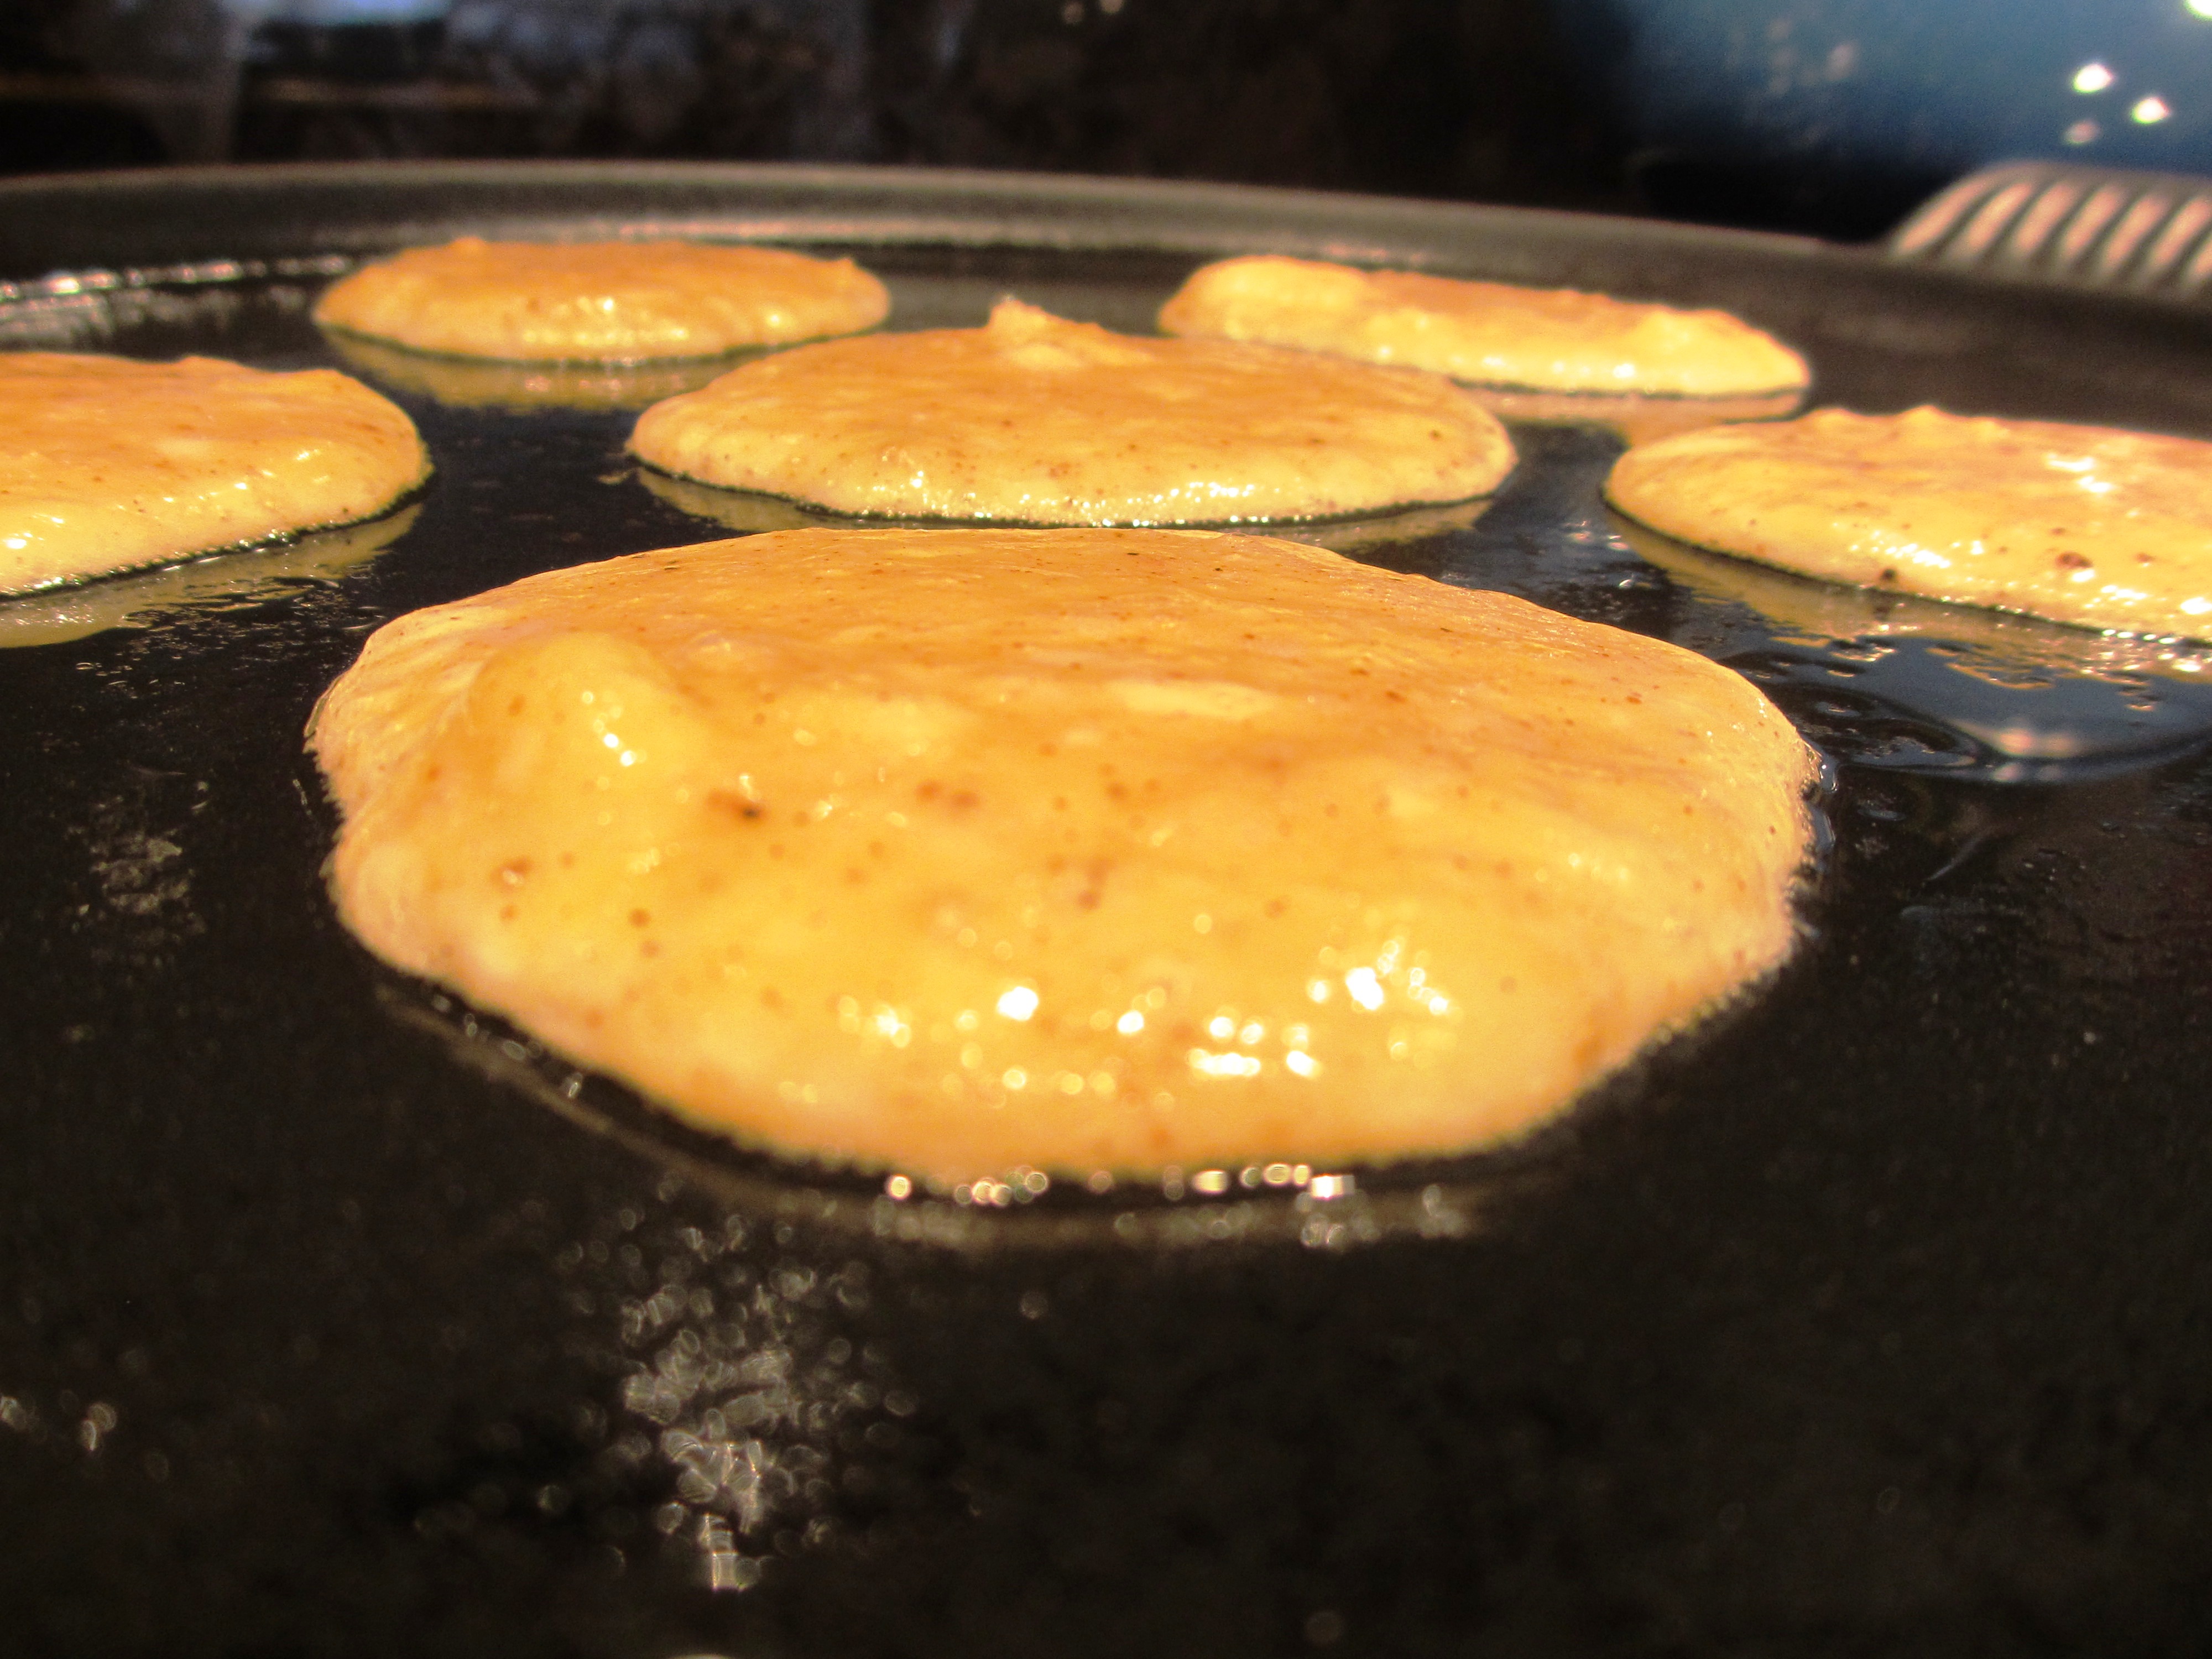
When I poured the first four scoops of batter in, I was like “Hmmm….”, as they didn’t look too appetizing and ran to the edges of the pan. The batter was very thin and watery. I cooked these for about 4 minutes on medium heat for the first side. When I flipped them, they still didn’t seem perfectly cooked:
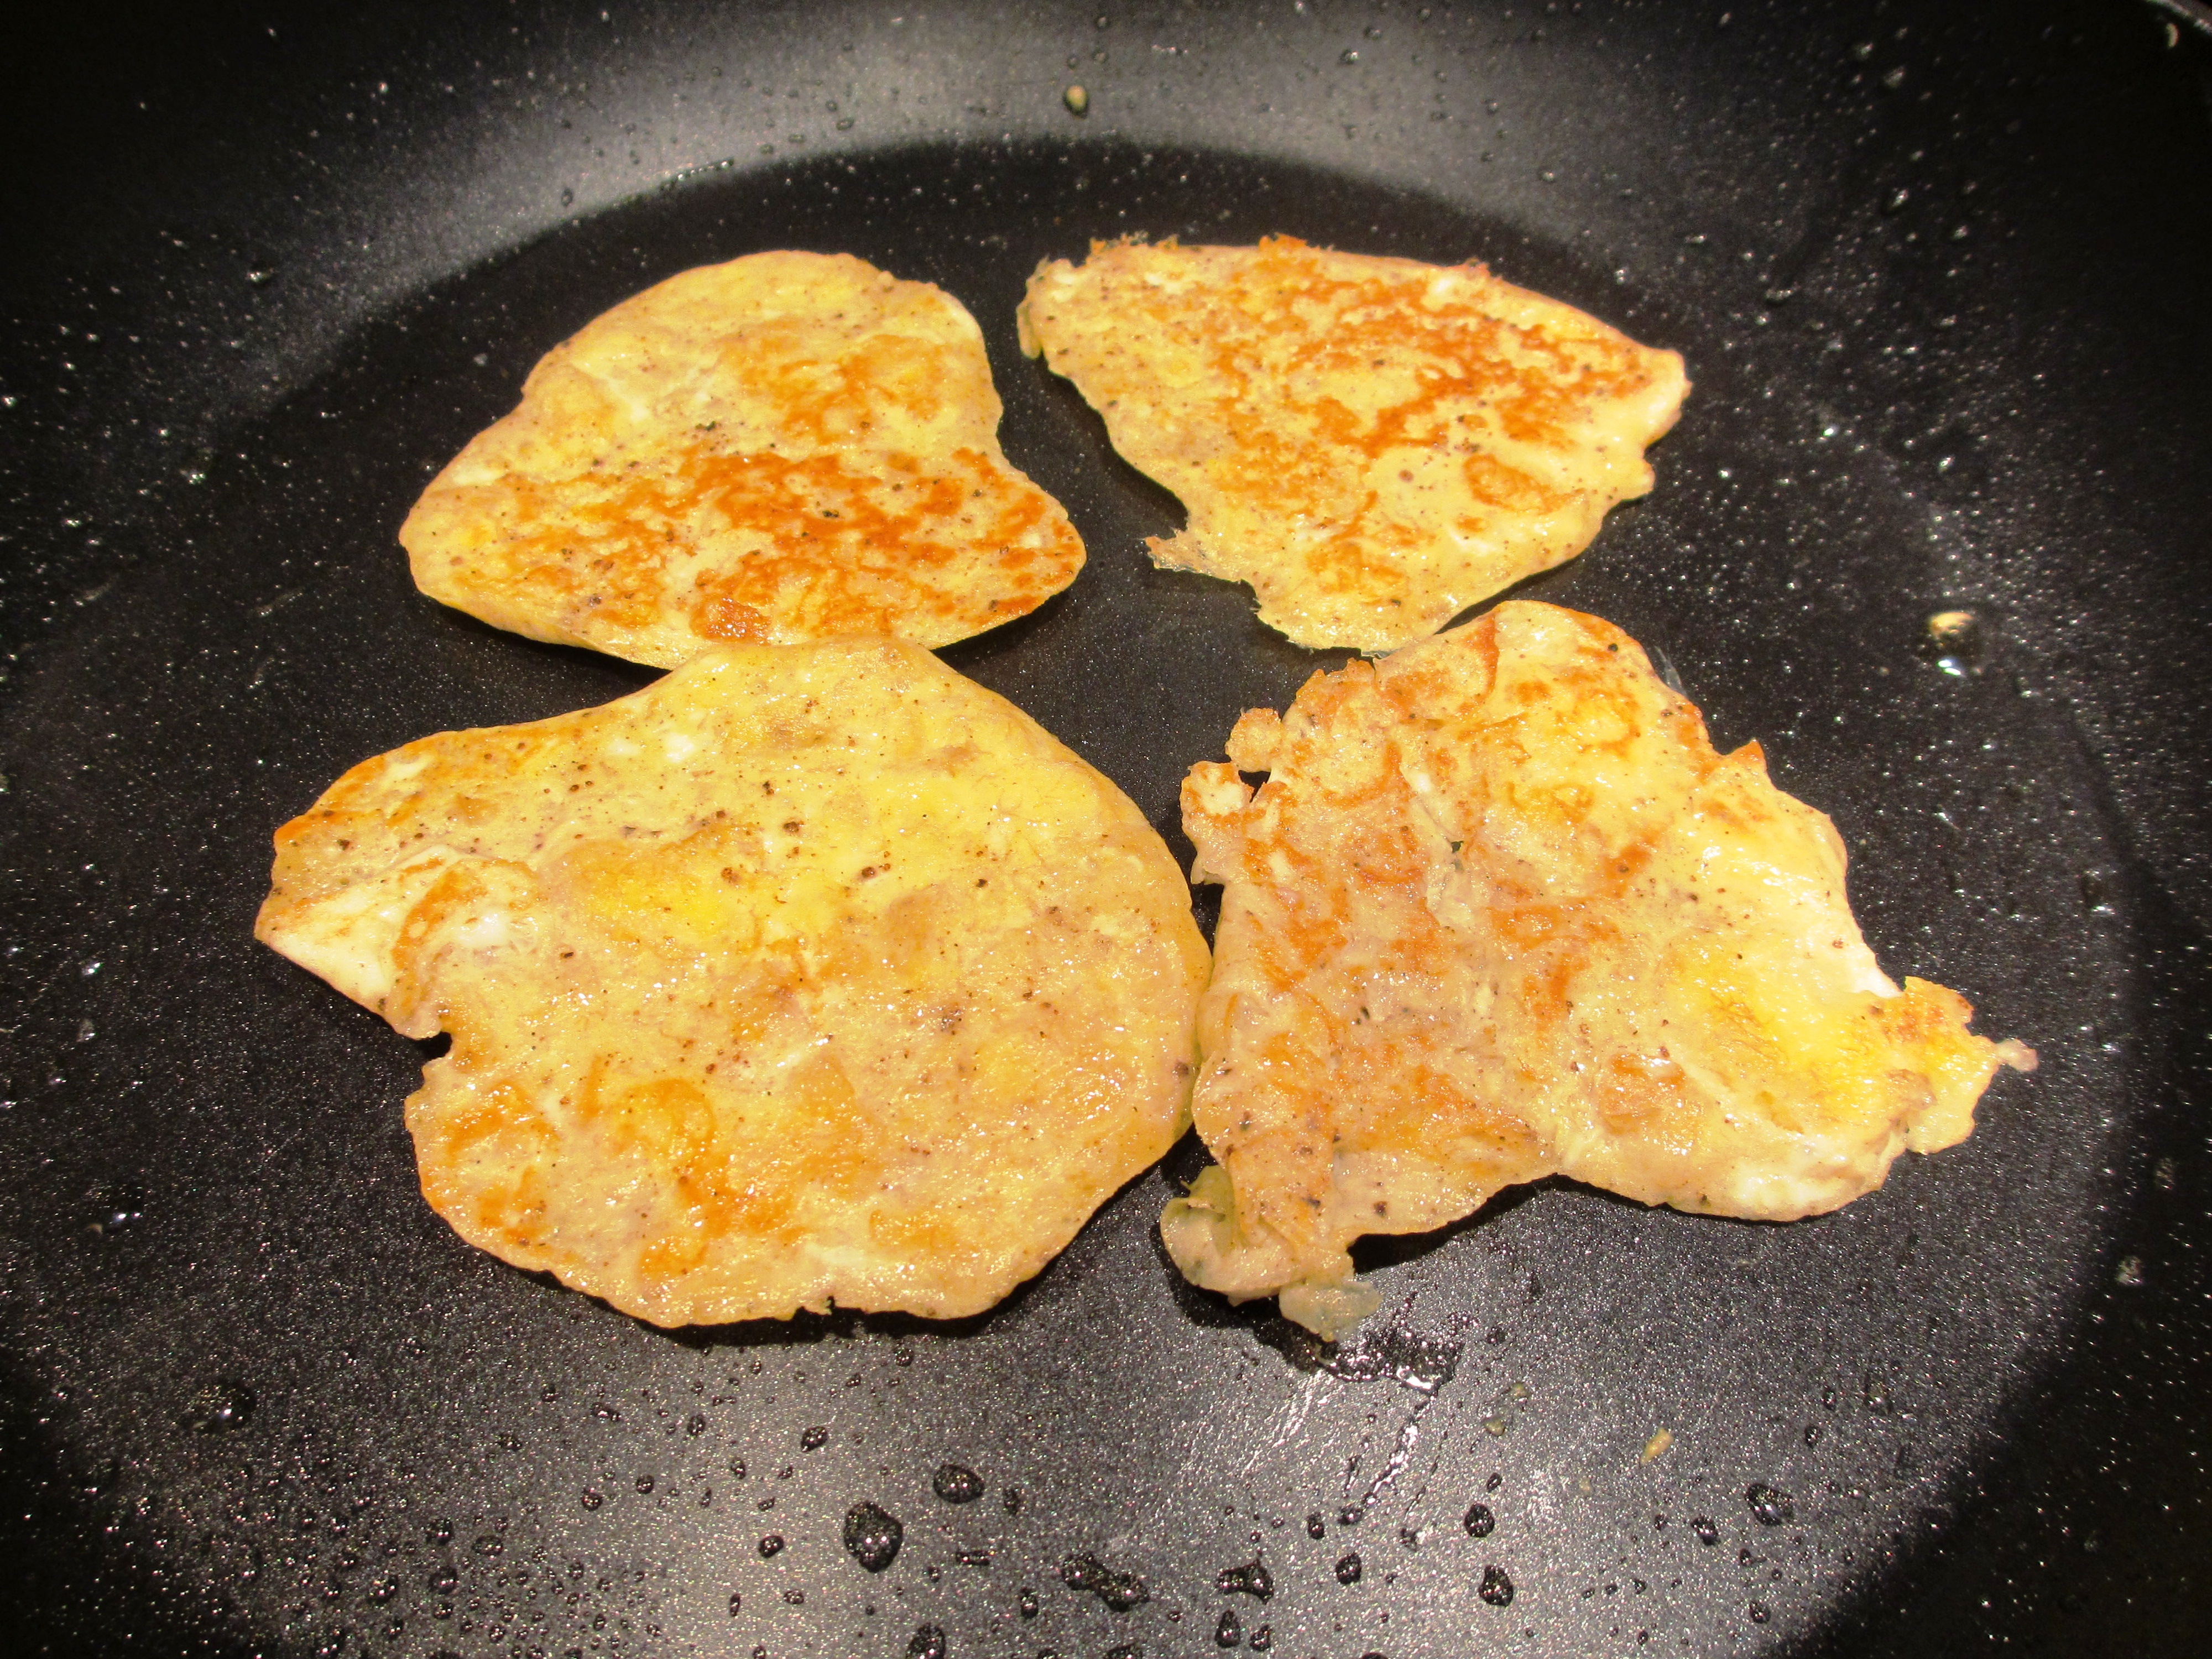
I had to flip these a couple of times to get them to brown…
Batch #1 wound up looking a bit more like fried eggs than pancakes, so for batches 2-4, I switched things up a bit. I added 1/4 tsp of (aluminum fee) baking powder to the batter and I switched to a completely flat griddle pan (vs. this non stick pan with the rounded edges and slightly elevated center). Click here for why you should always use aluminum free baking powder.
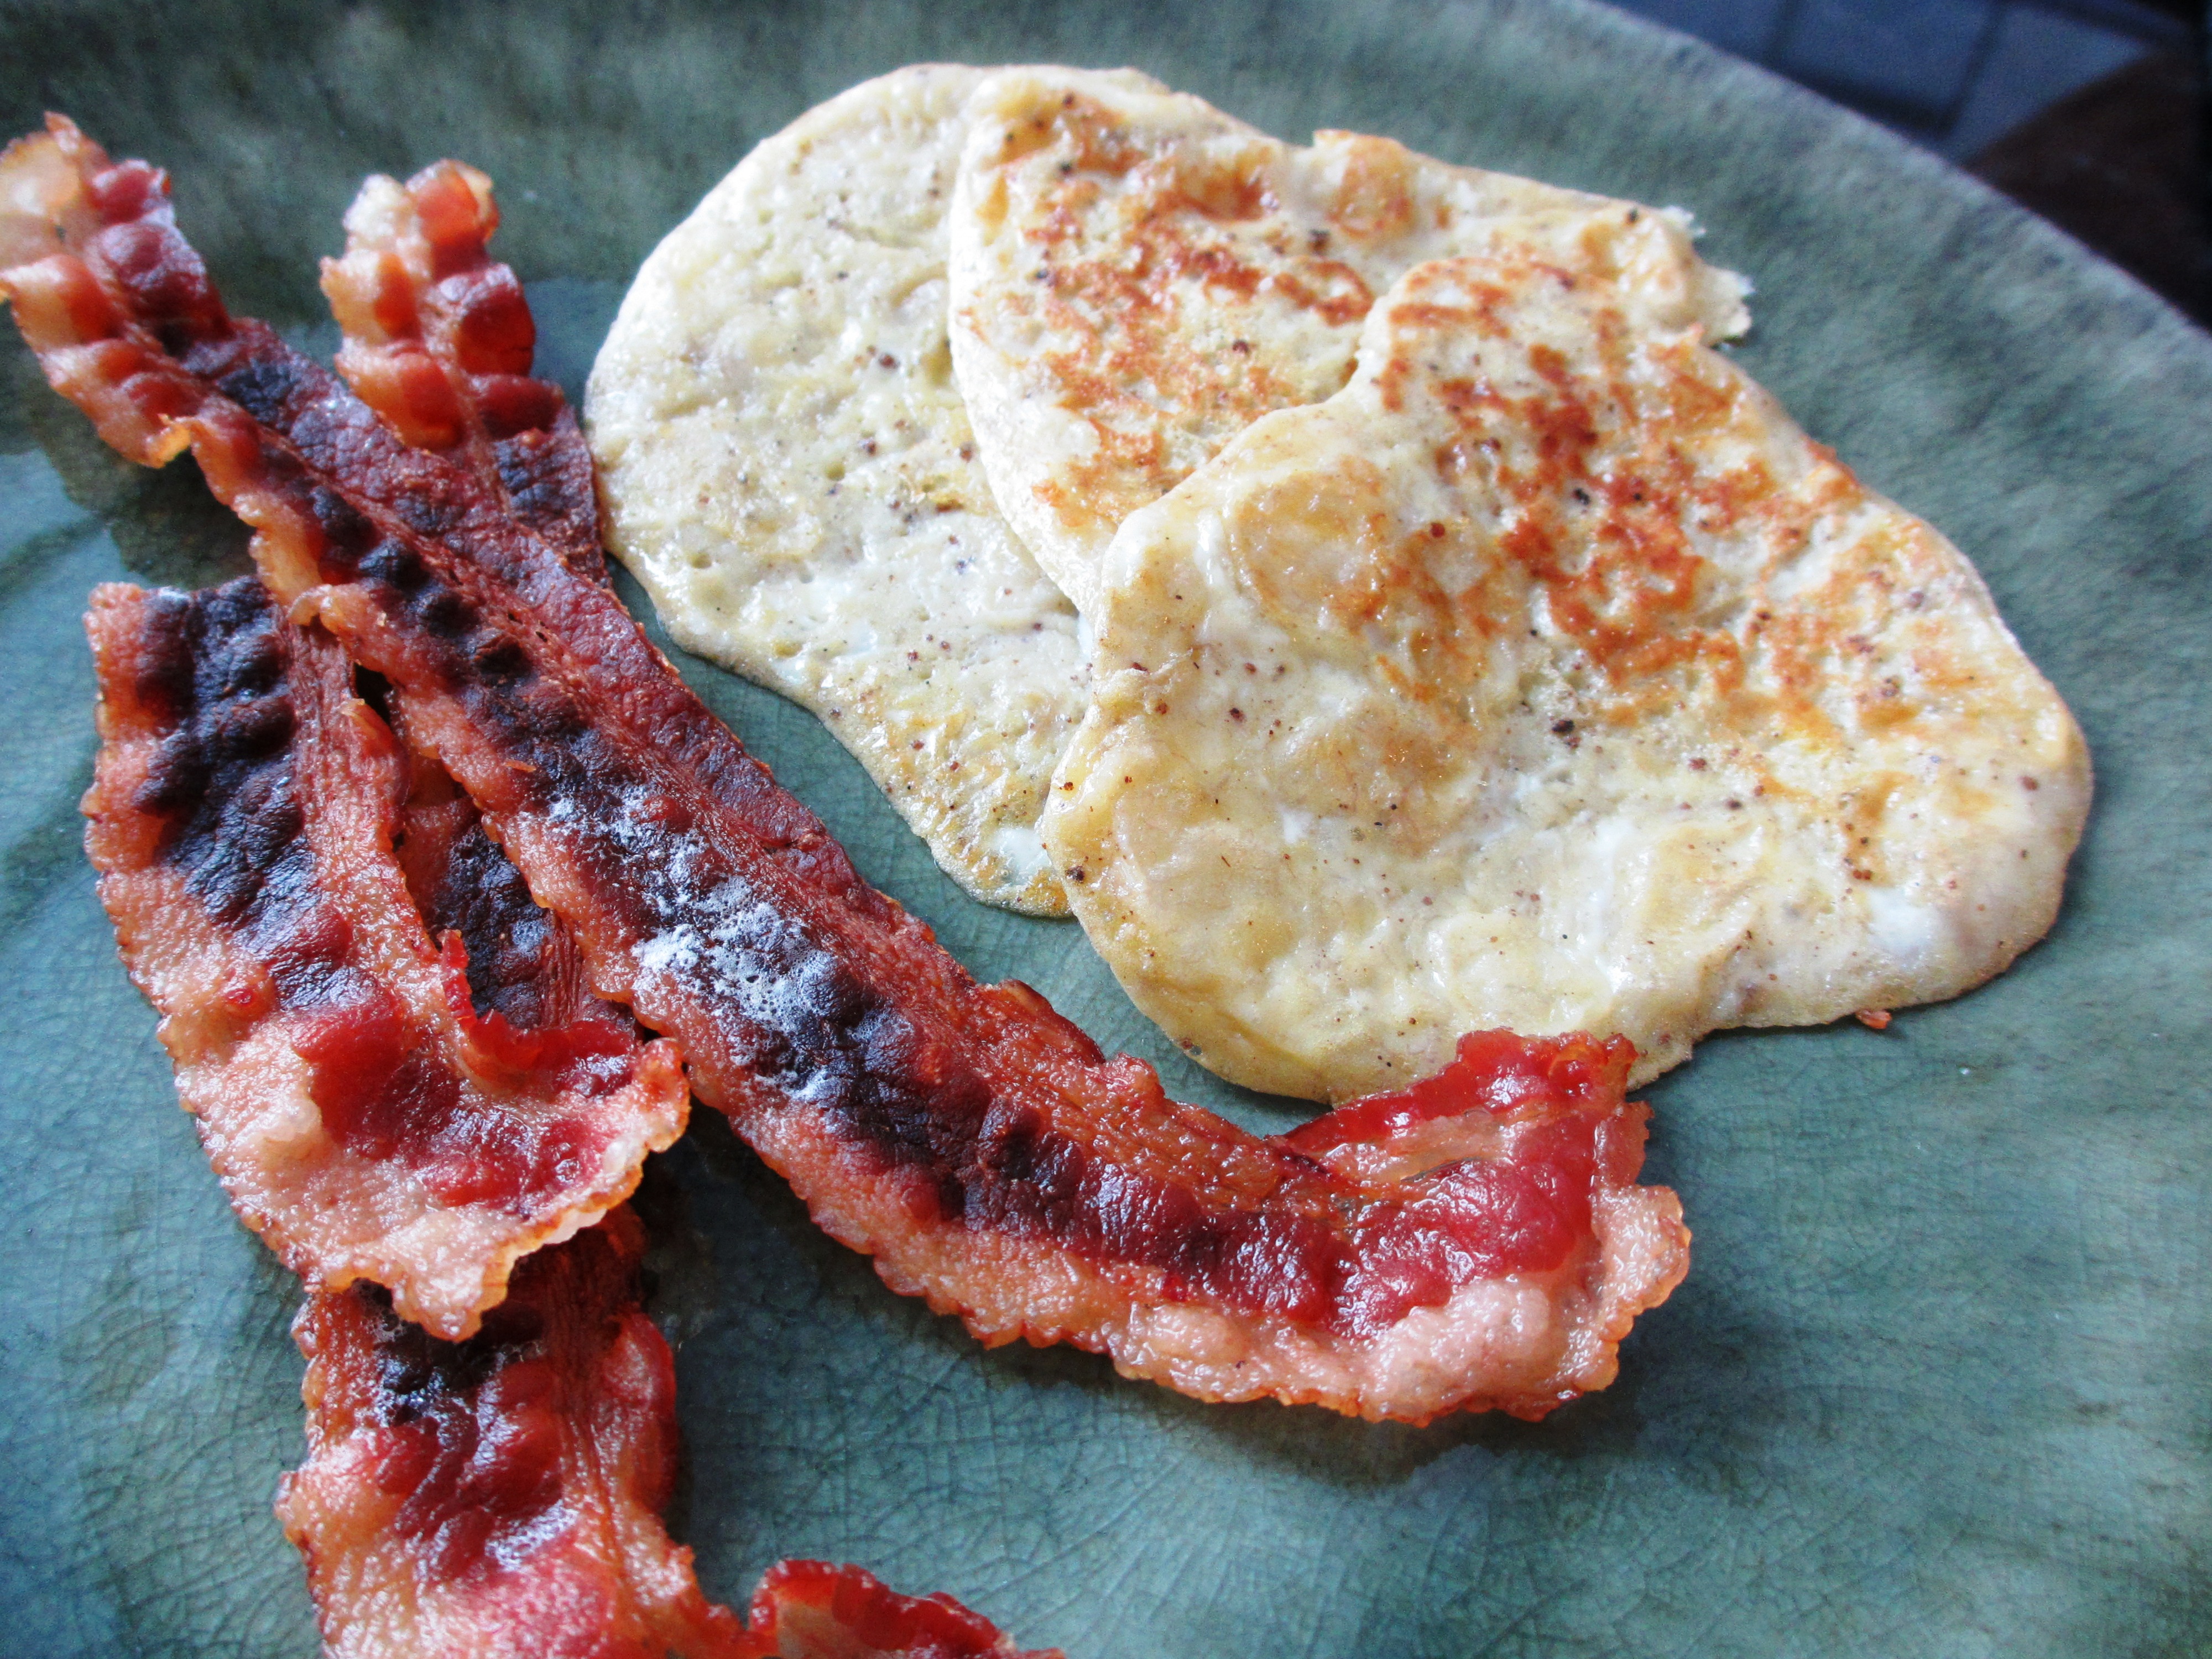
This was the final prodcut of Batch #1… they tasted great! But looked ‘eh’…
My results got better and better with each batch…

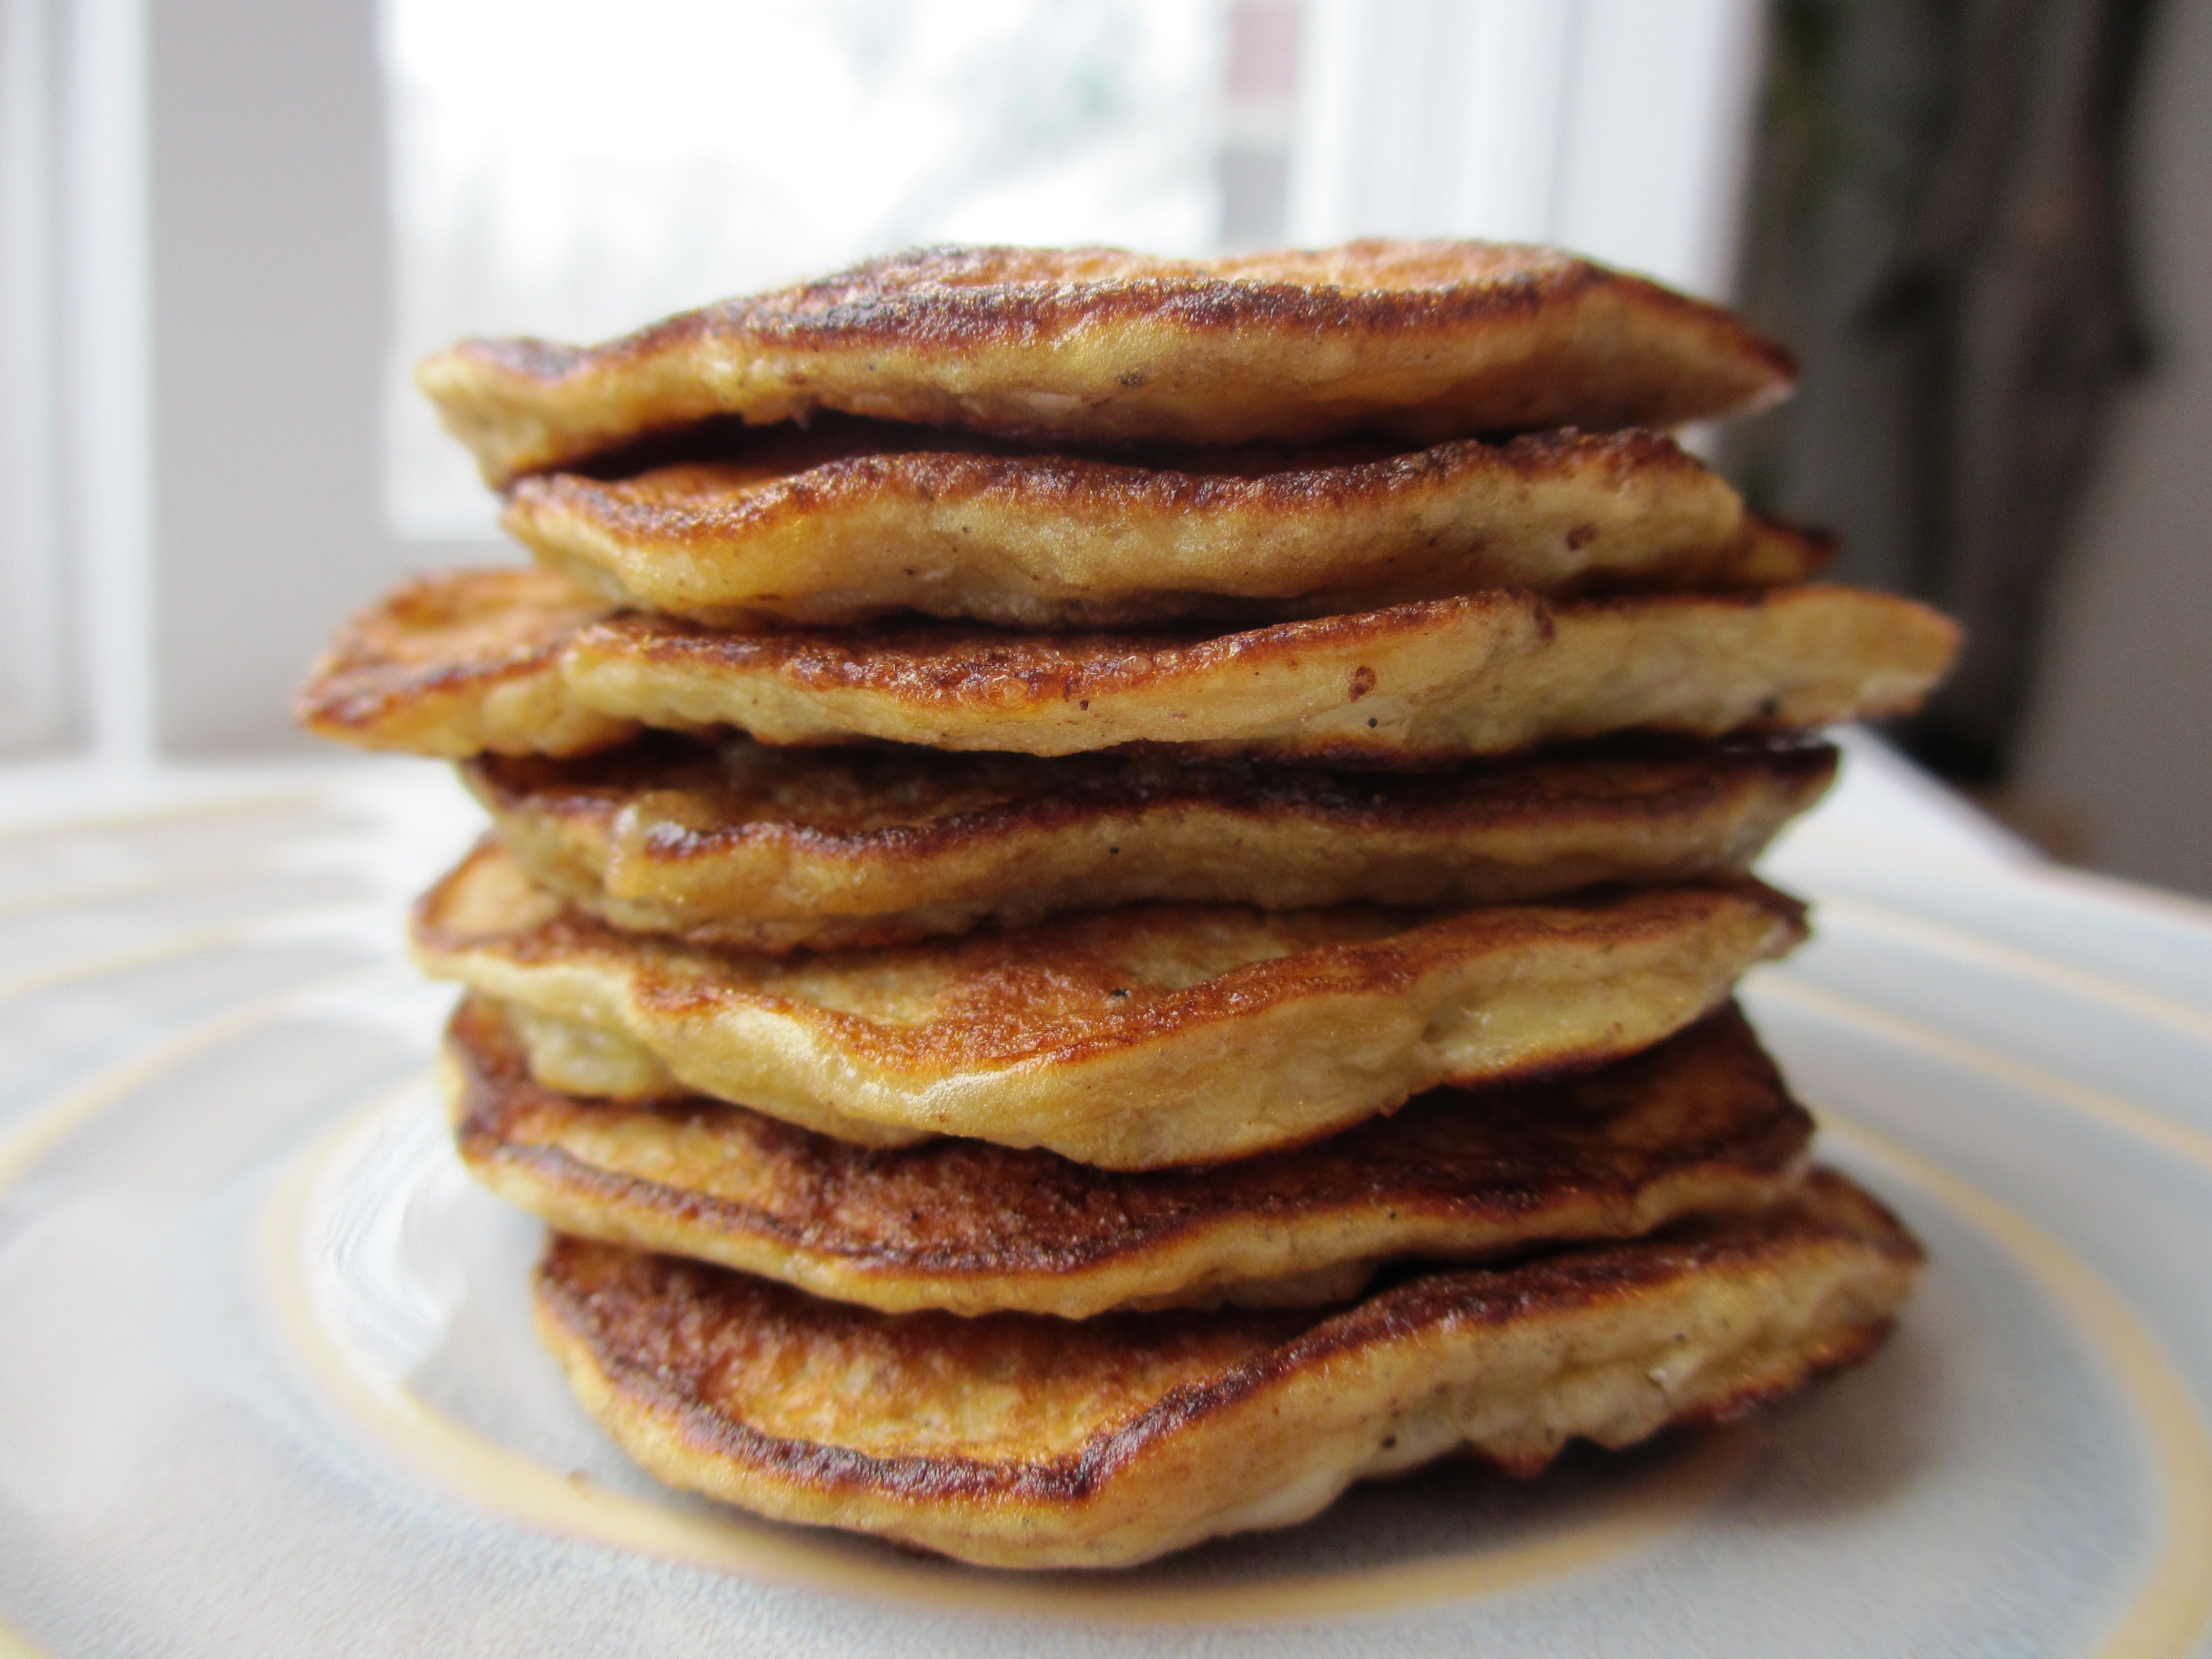
Batch #2 held their shape much better…
Batch #2 also rose more than the first batch… looking more like traditional pancakes.

These were the final results of Batch #2… About 3 mins per side.
Each batch took less and less time because I was using a cast iron griddle pan — which retains it’s heat very well. Batch #1 took almost 4 minutes per side in a non-stick frying pan. Batch #2 was about 3 minutes per side and batch #3 was a little less than that…
Batch #3 all done… aren’t they cute?!
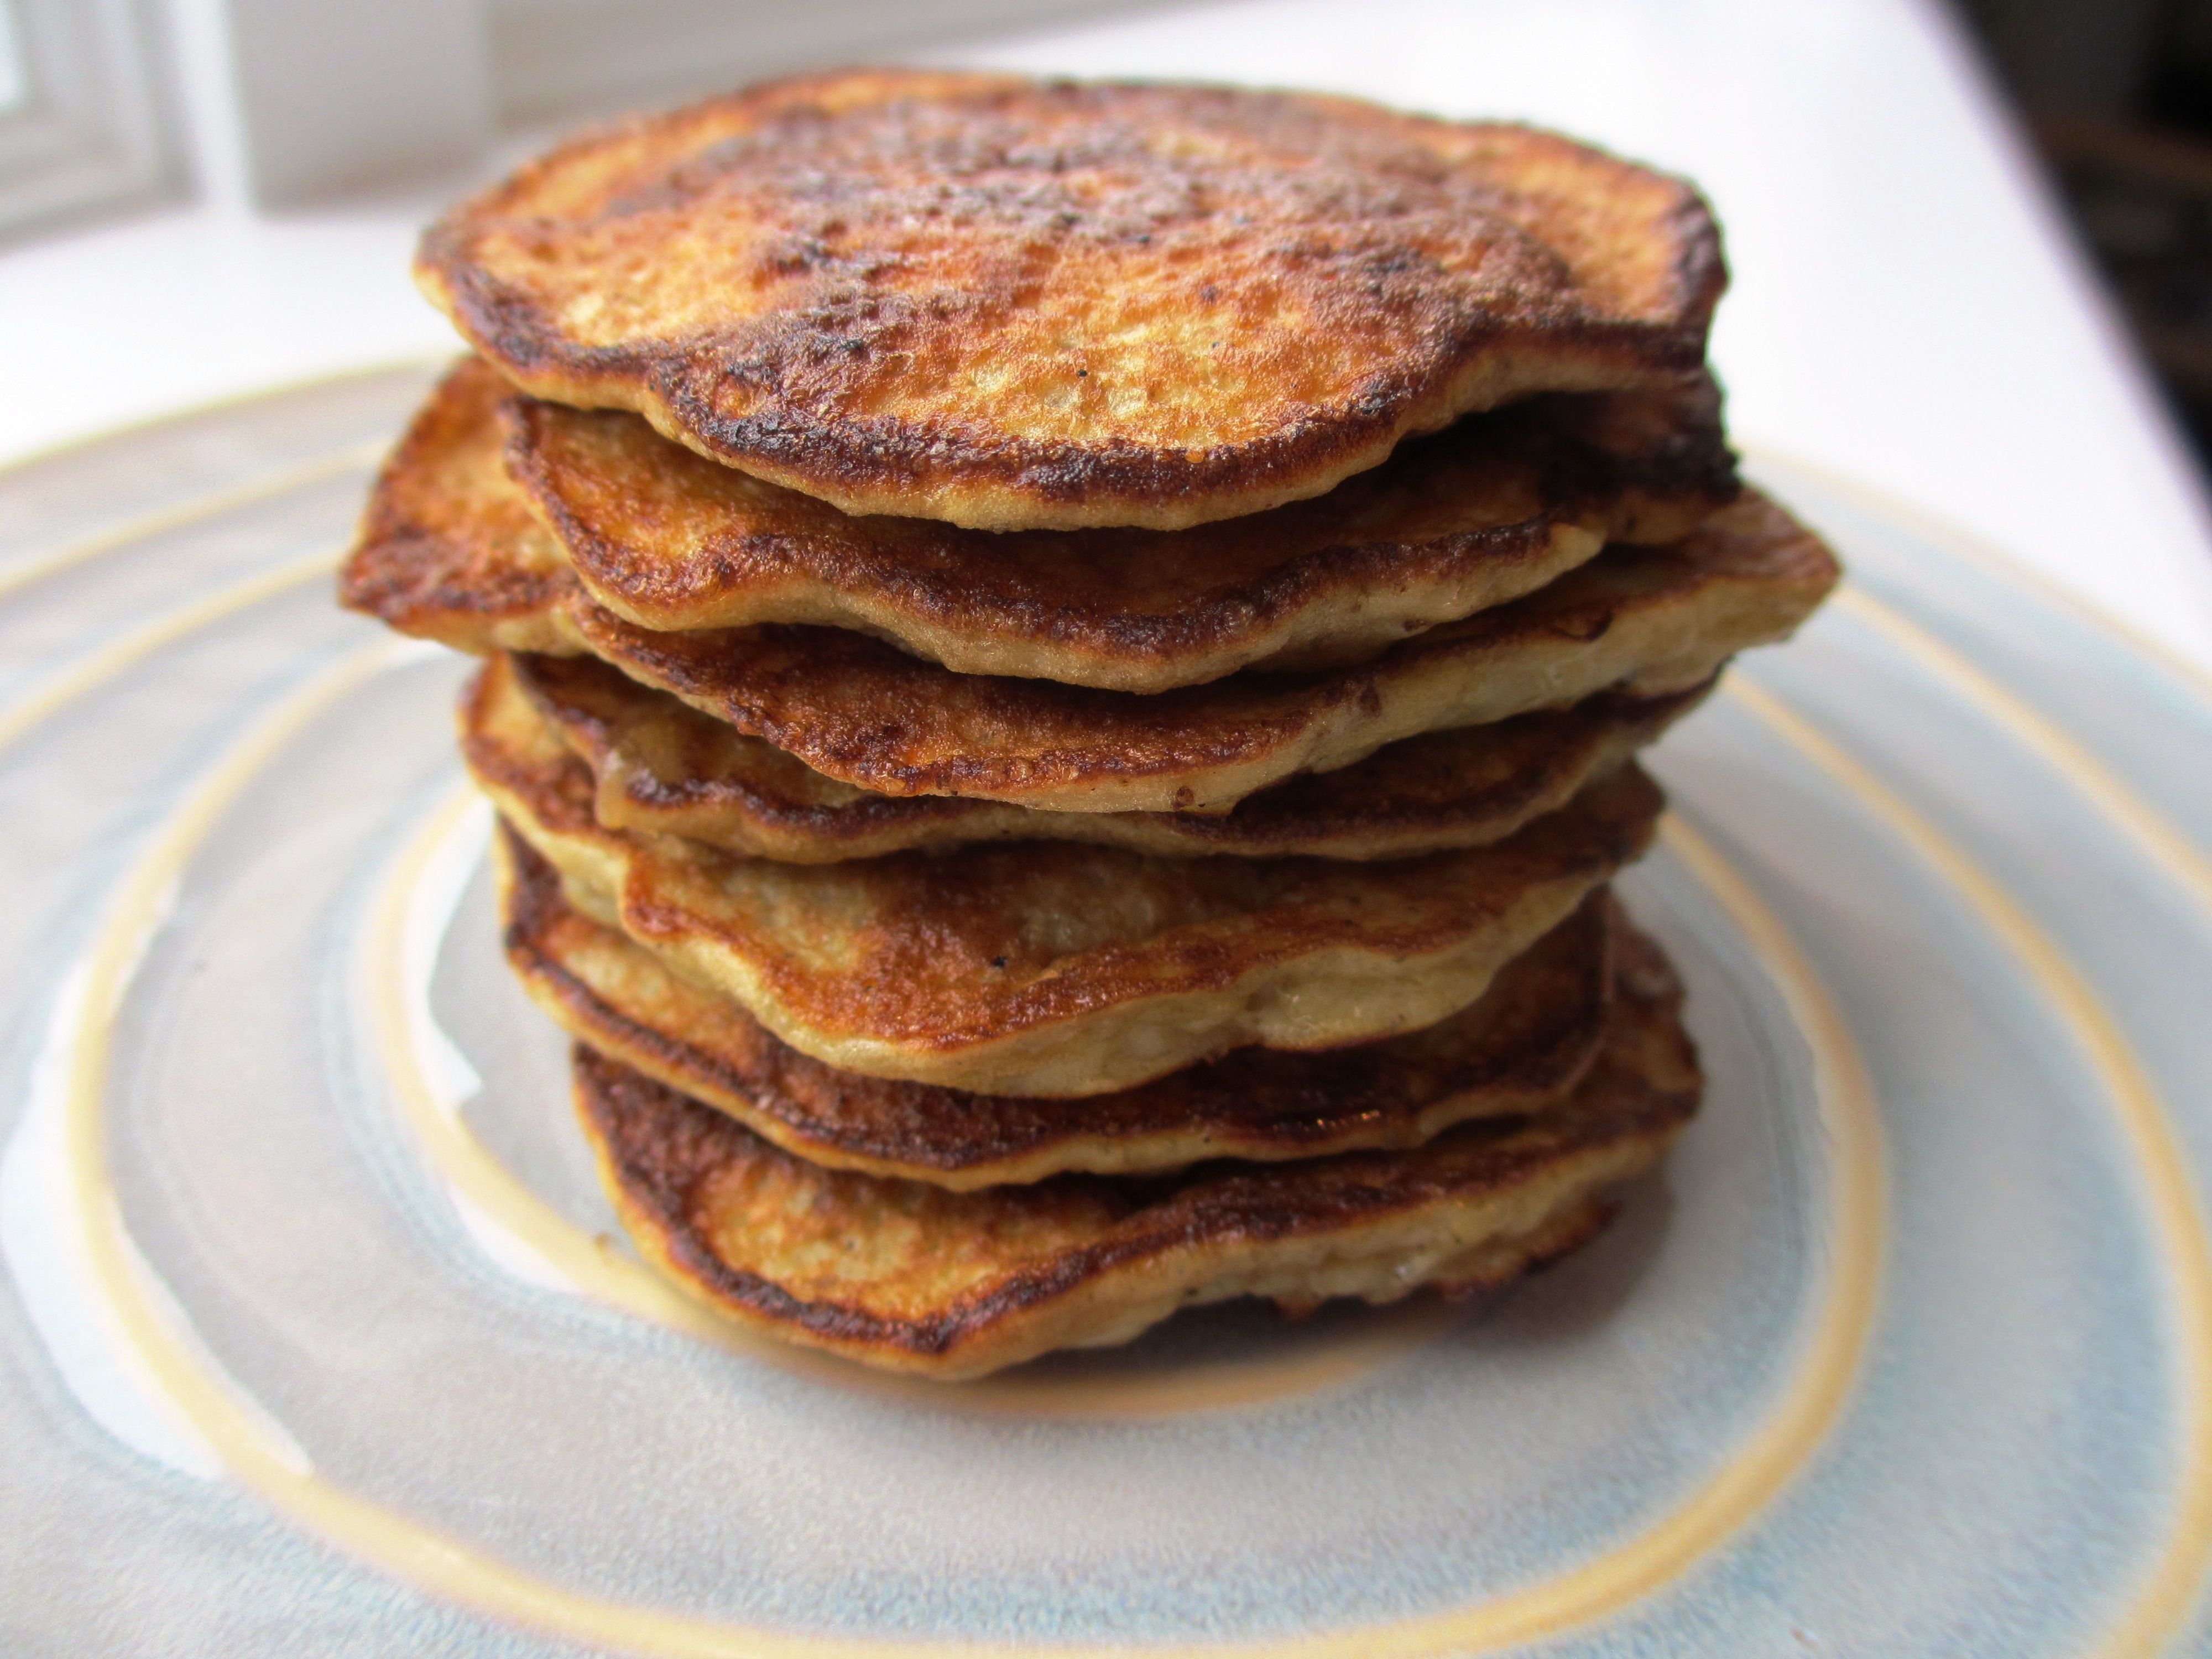
Batch #3…

Batch #3 topped with my homemade (paleo) blueberry jam!
Click here for my homemade Paleo Blueberry Jam recipe…
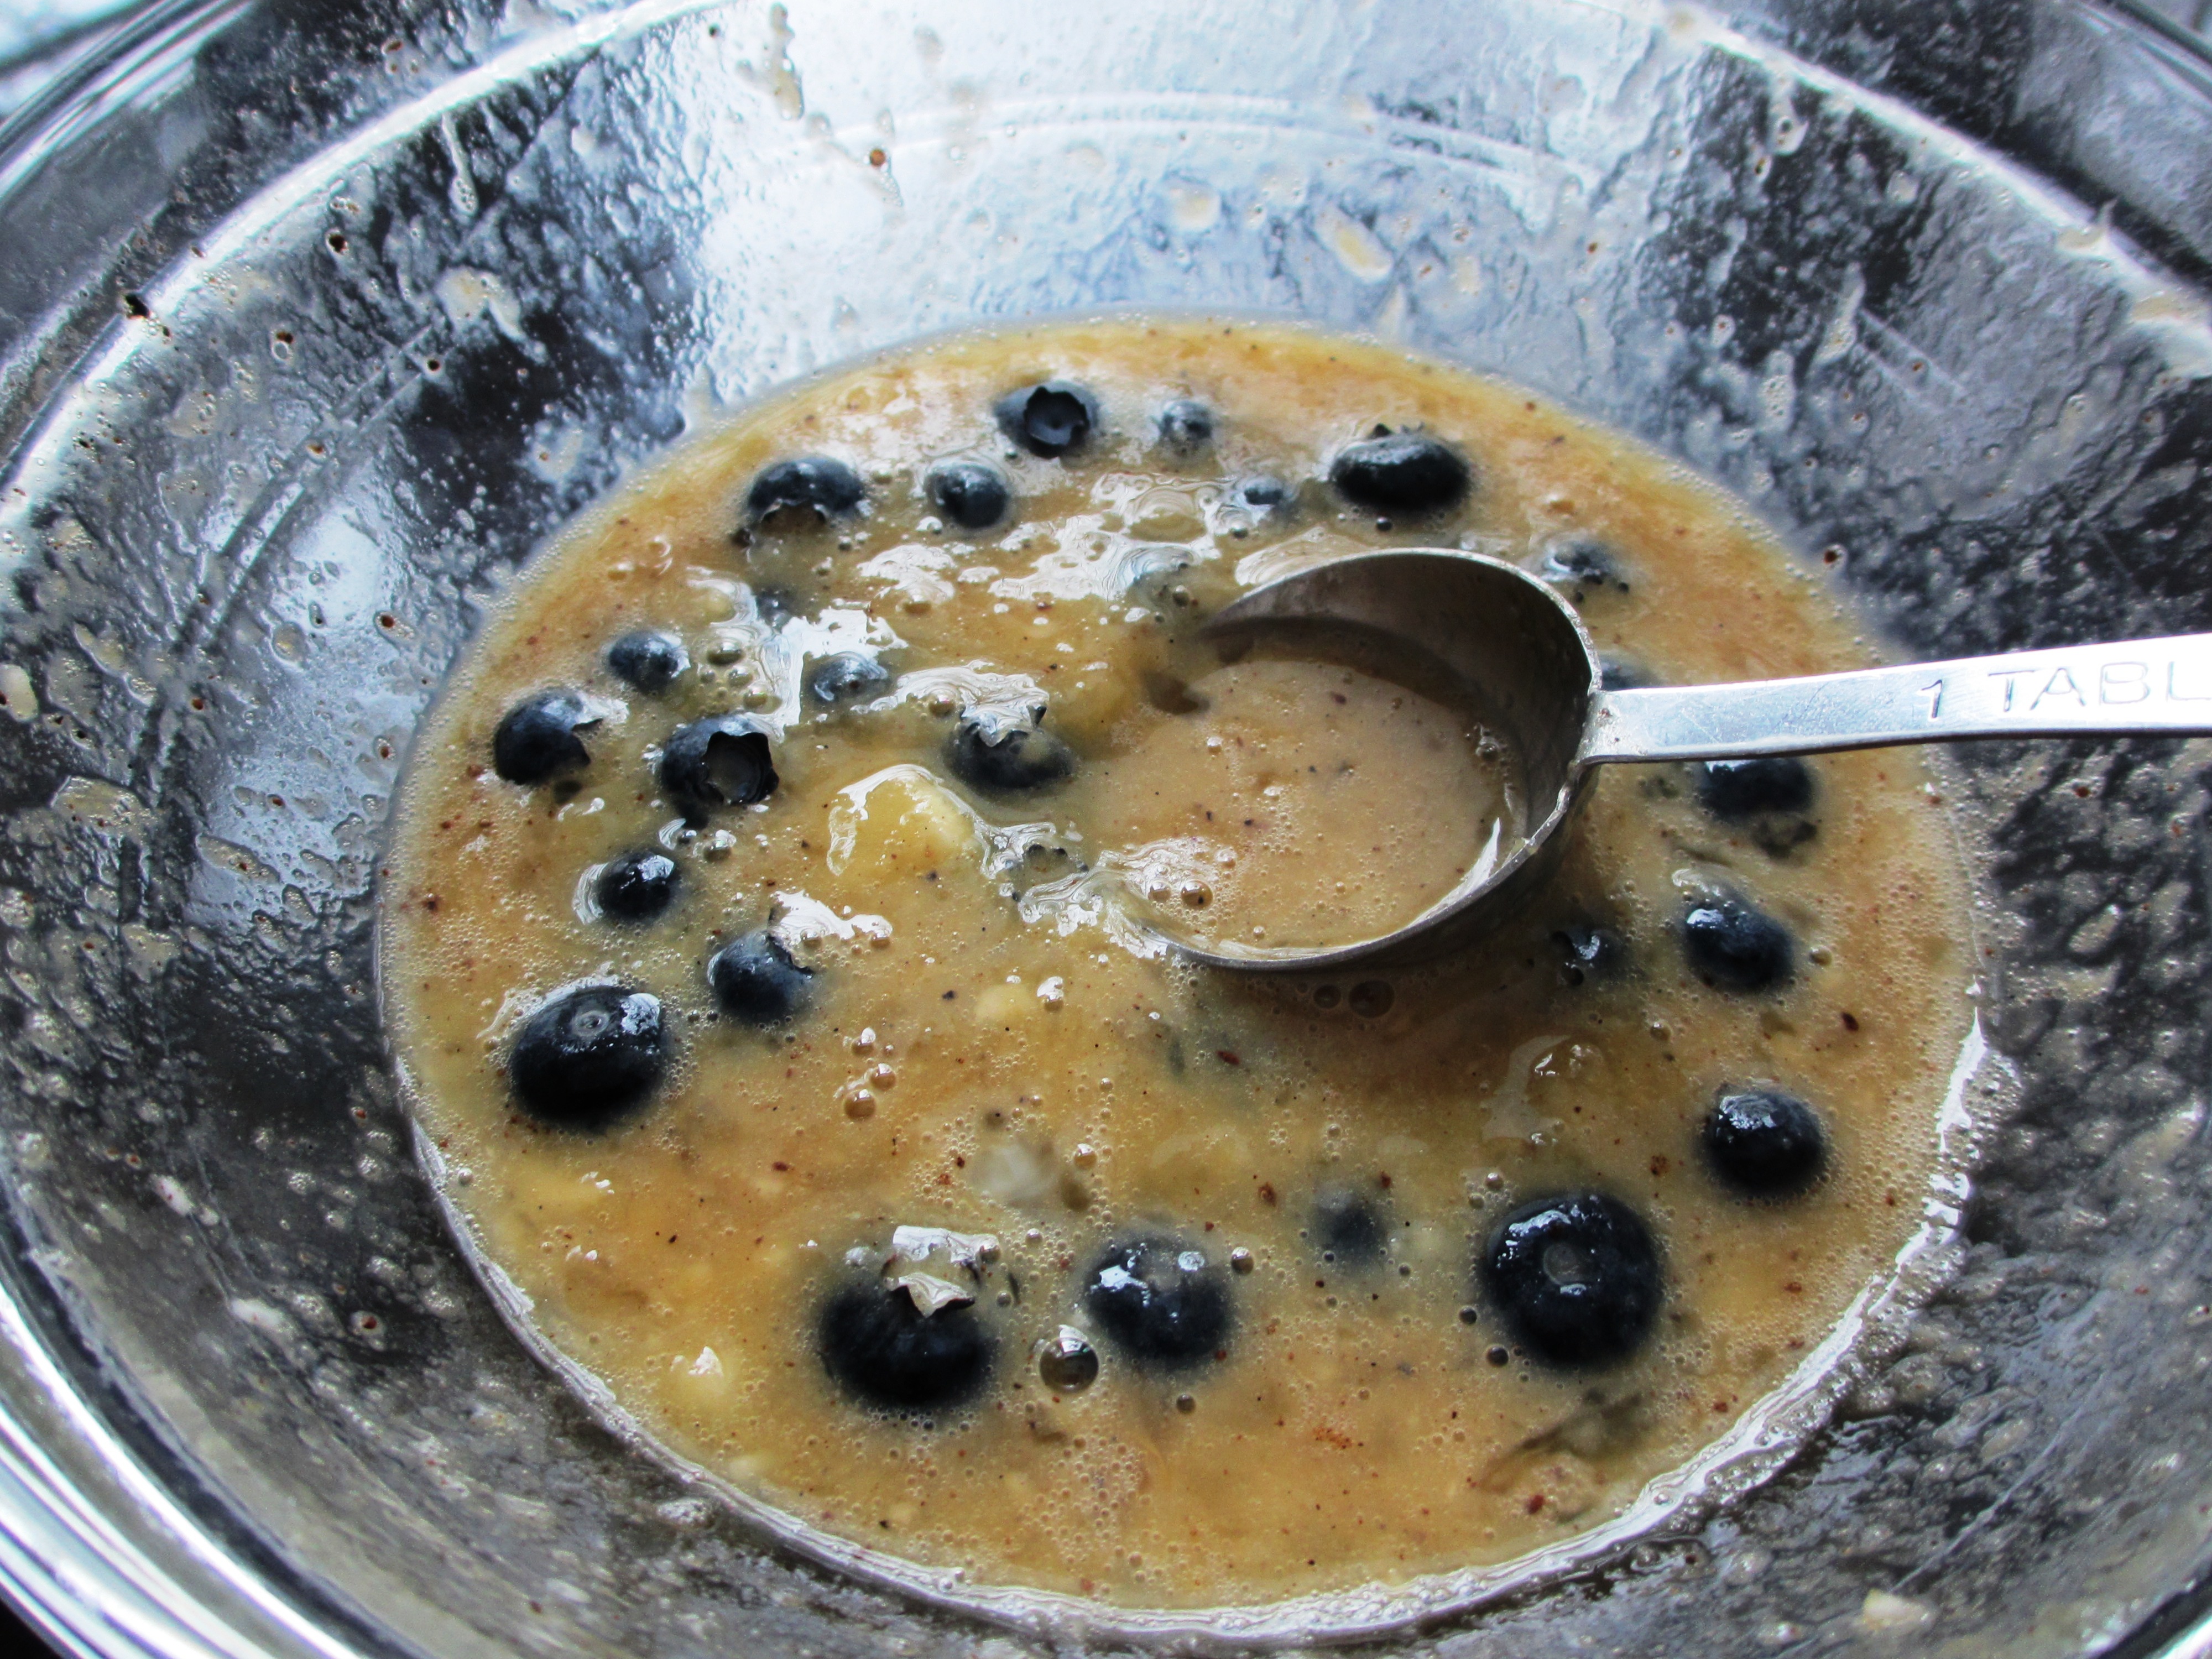
For Batch #4, I added fresh blueberries…
The final batch (#4) was our least favorite of all… but was still pretty tasty. Mostly because the fresh blueberries we had weren’t that great.
Overall though, this is a really yummy recipe. I will definitely be making these again (probably regularly).
These “pancakes” taste like banana french toast. I’ve heard complaints about people not liking them… but you have to remember, of course they aren’t going to taste like REAL pancakes! They only have banana and egg in them, LOL! And that’s what they taste like… but personally, I really liked that. I think people also wind up with pancakes that are too well done on the outside and too mushy on the inside. I didn’t have that problem… try the tips below to help with that.
A few tips to keep in mind (from my trials and tribulations):
- Only use 1 tbsp of batter at a time to keep the size manageable and to help them cook evenly.
- Make sure your banana is very ripe.
- Keep the heat under the frying pan on a medium heat. Depending on the type of range you have, you’ll have to play with this. I have induction (not a fan), so it took me all four batches to figure this out. They WILL burn if you’re not careful — before they cook through. Slow and steady is the key here — start with 3 minutes on each side… but you may need a solid 4.
- Use the baking powder if you want them to rise at all. However, without the baking powder they were more like crepes… which are good too!
- If you DO add fruit (like blueberries), adjust your time accordingly. The blueberry pancakes took a hair longer in order to cook the blueberries all the way through.
Enjoy!
 (No Ratings Yet)